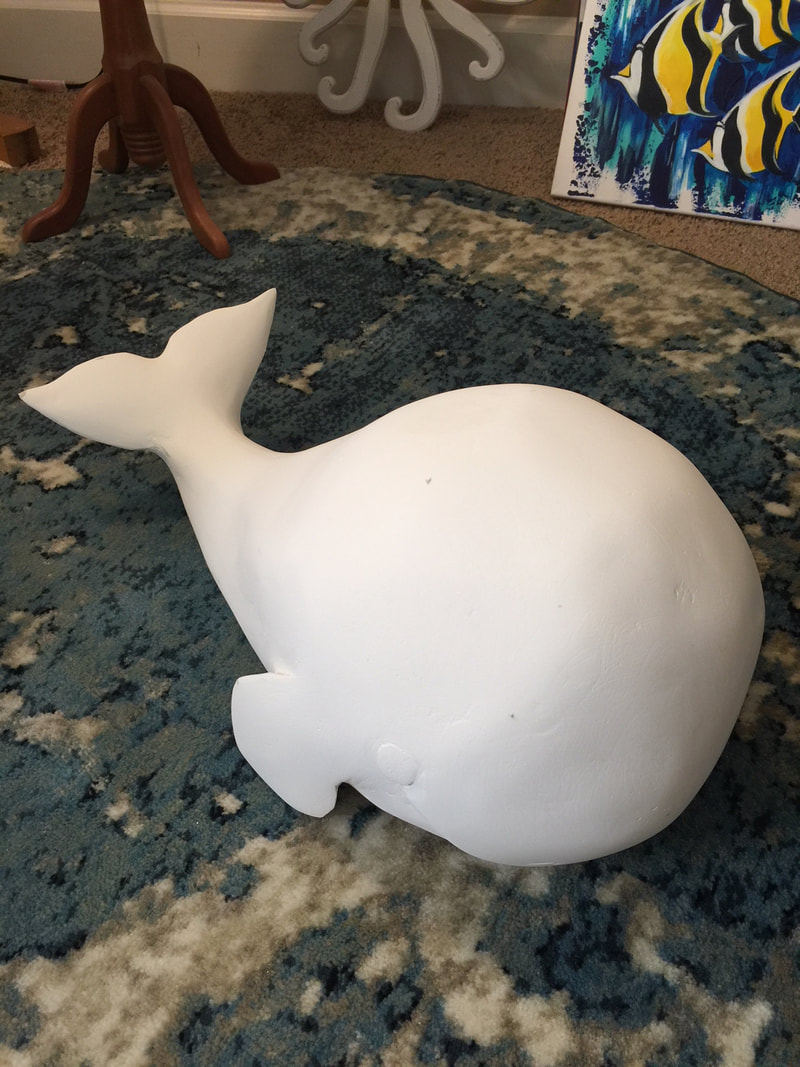
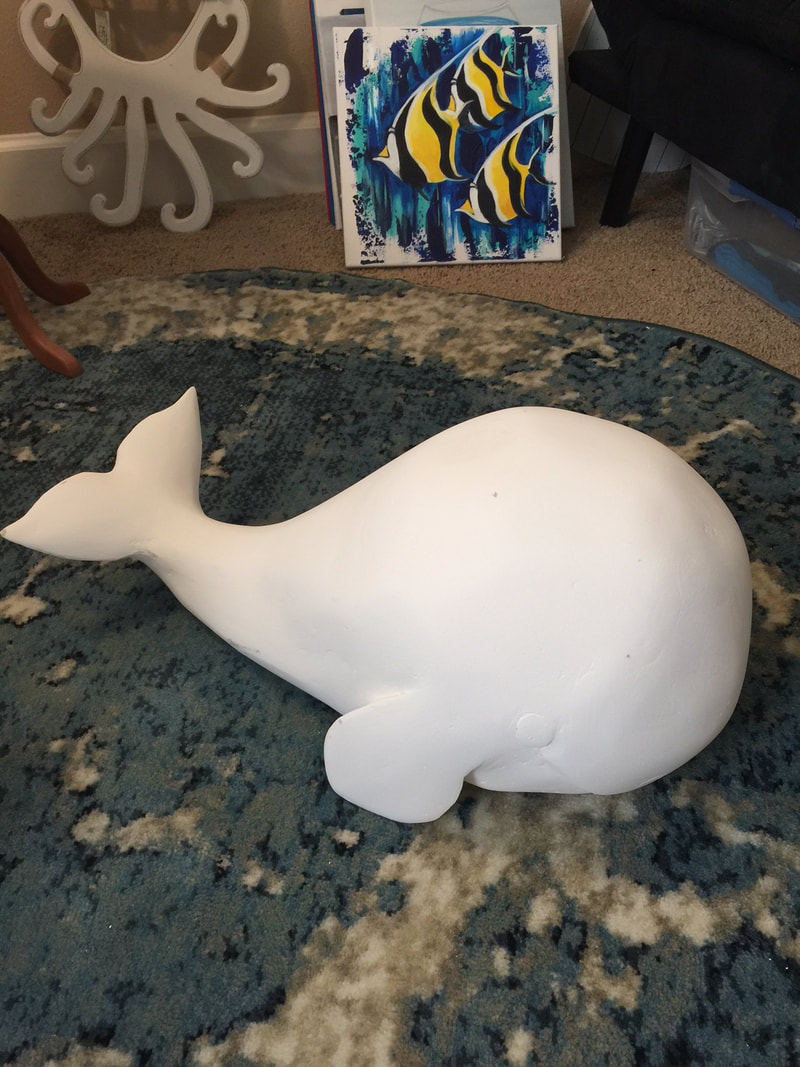
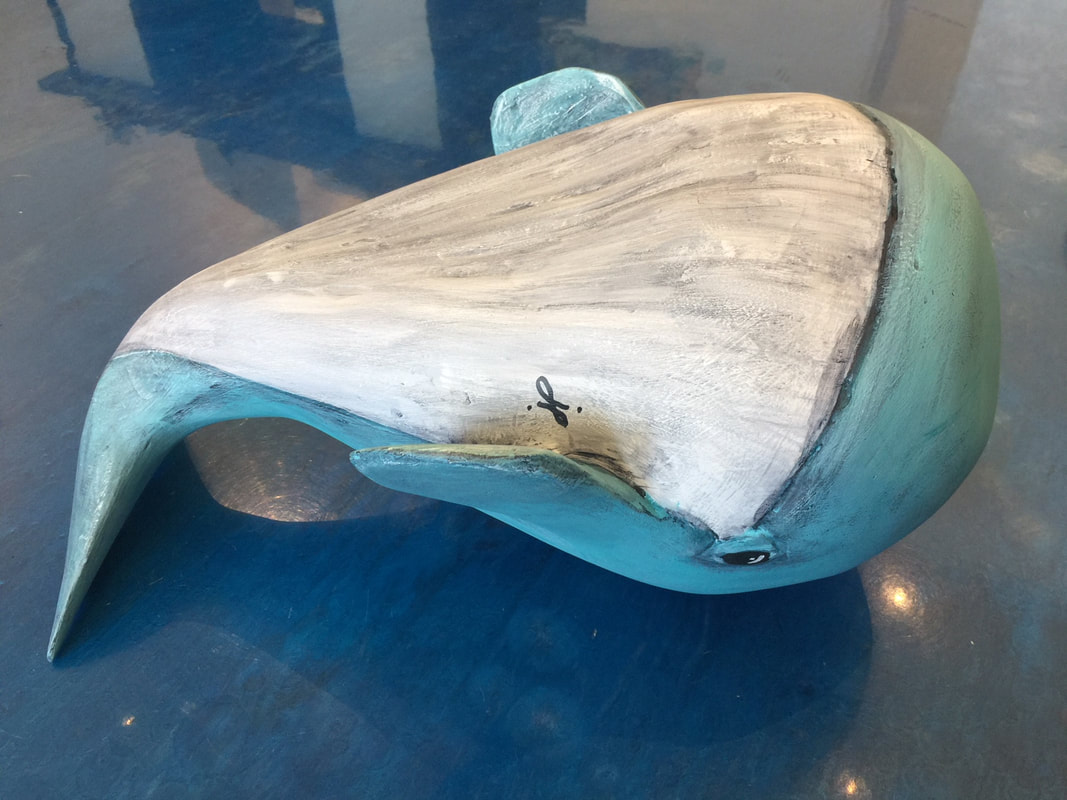
 Splashy started as many papier mache' project, with a balloon. I started with papier mache's about 2 or 3 years ago and just love the whole process. It can be super challenging and easy, depending on what part you're working on. I figured I would share with you my process, in case you are interested in trying it for yourself. Although there are no pictures of the original shape, it was a balloon that I extended with paper board and tape to create the whale shape. For the tail, I took 2 pieces of paper board and cut out the shape of the tail. I then taped the edges and stuffed the center to give it a little more of a 3 dimensional shape. Once I was finished with the shape, I made the papier mache' recipe and covered the entire thing twice. That gave me a nice firm shape that could take the weight of what was to come next. My recipe for Papier mache': Flour Modge Podge (or white glue) Newspaper (or other lightweight paper, like newsprint) Water Salt I have no measuring specs, except I put in at least equal parts water to glue. The rest depends on what I am using it for. I want it nice and thick for large areas, but it needs to be a bit more thin for the smaller parts. I usually go for a consistency of heavy cream. And don't forget to add the salt. Apparently it keeps your piece from molding.
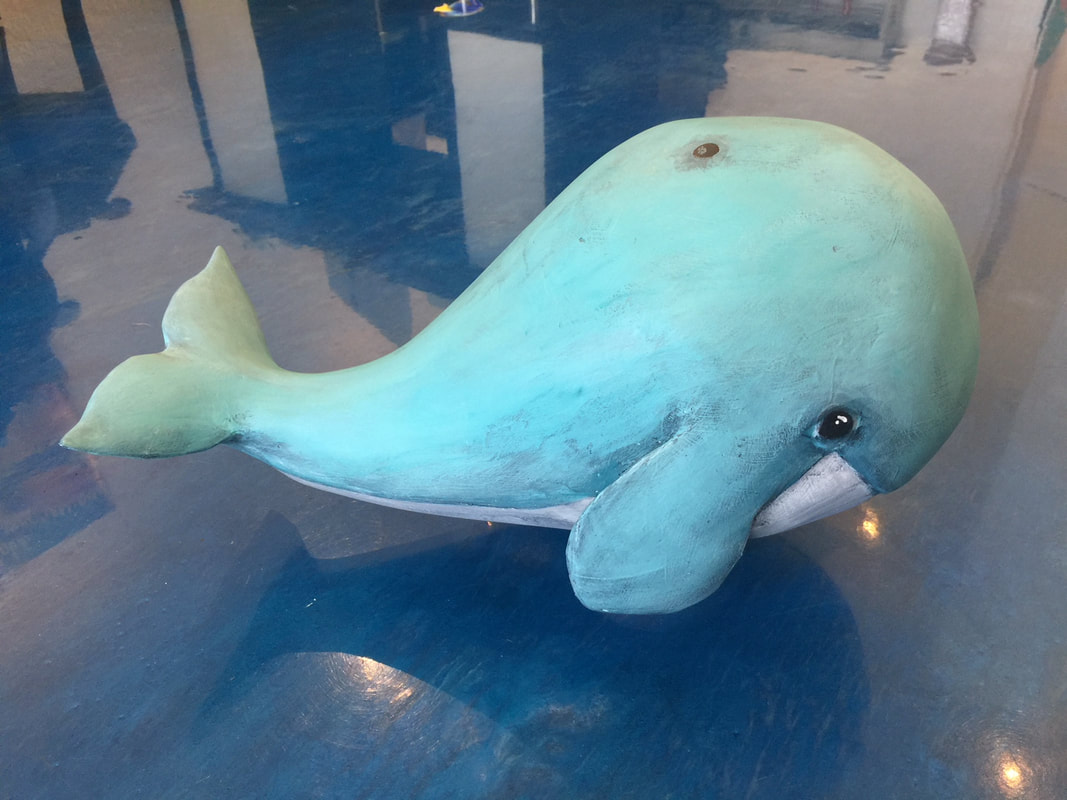
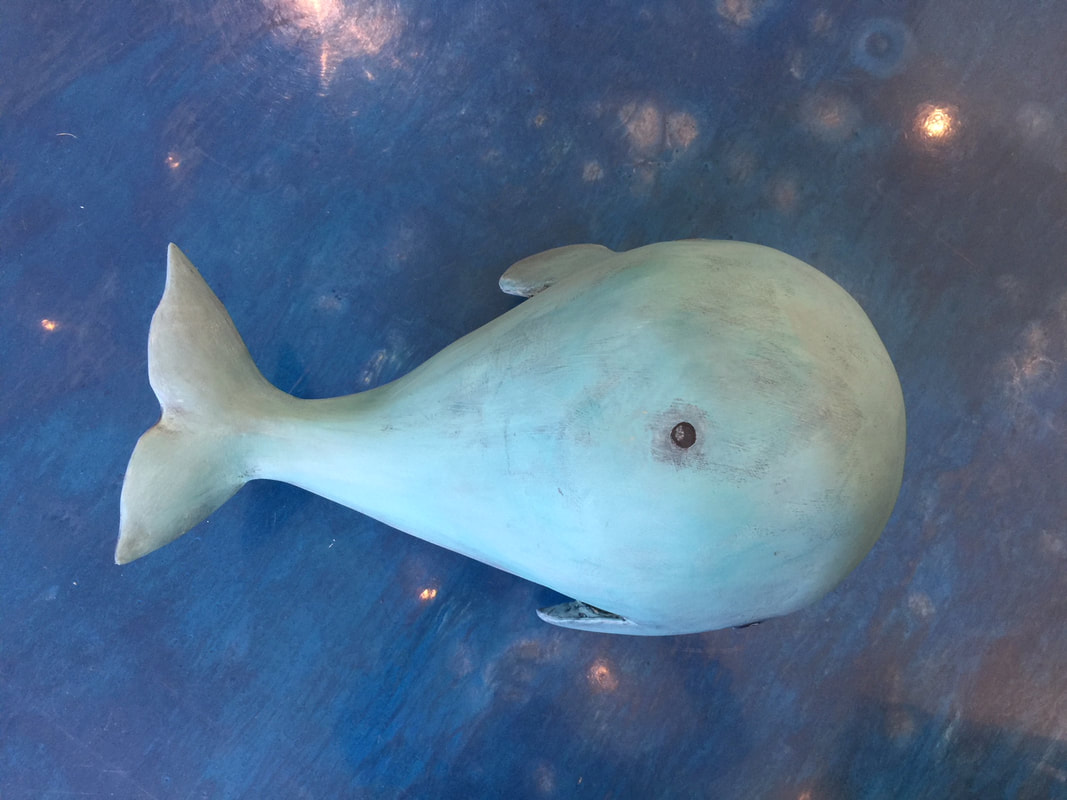
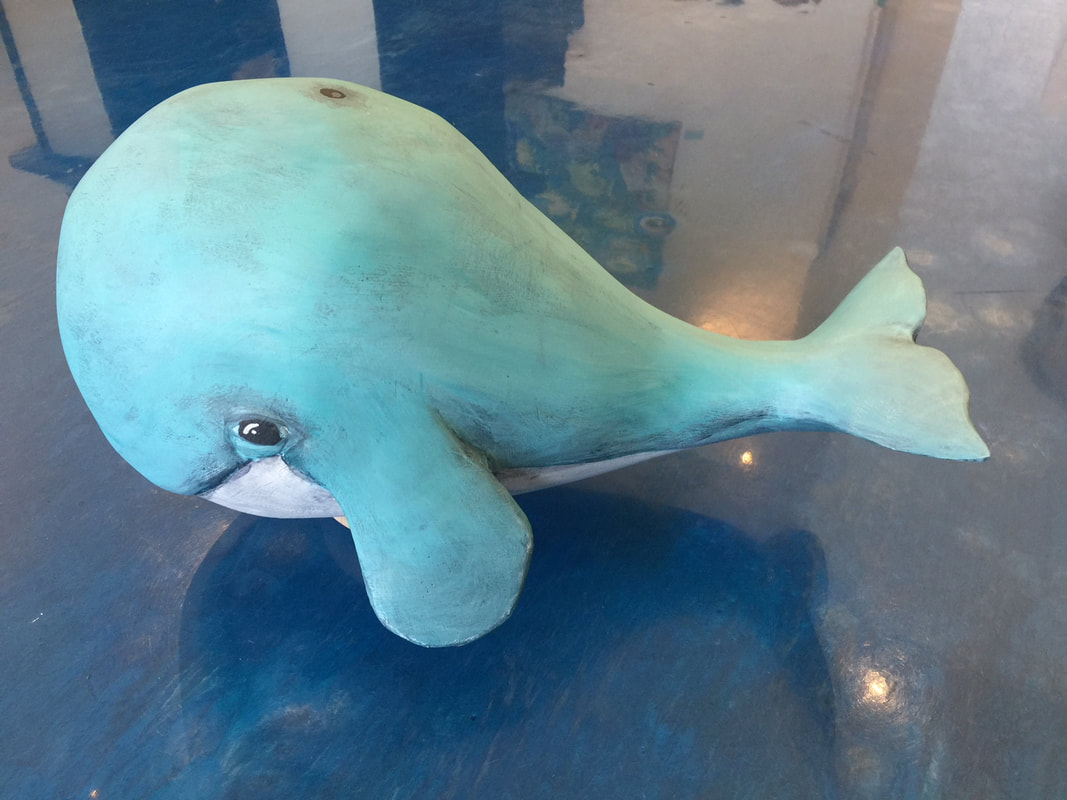
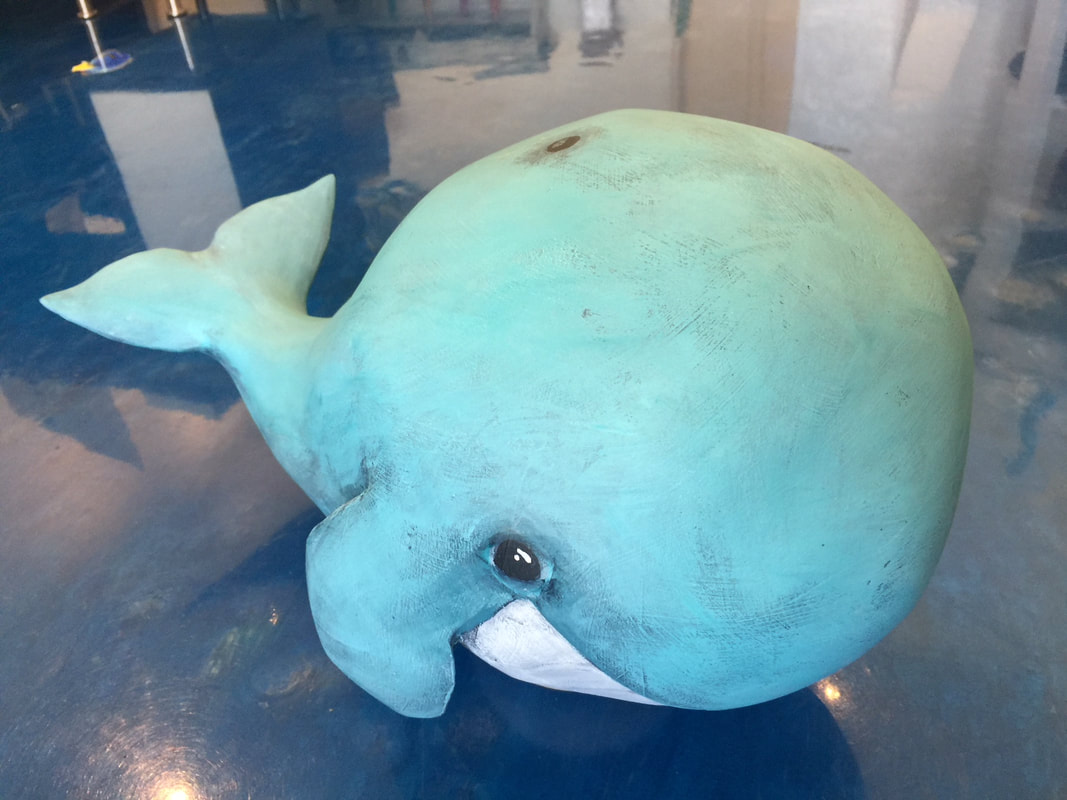
Once your texture is good, you can finish with paint. I start with gesso and give it a nice complete coat. Then I finish with colored acrylics and a final clear coat. For this project, I started with the white gesso, which gives it a nice solid undercoat. Then I painted the top with a nice mid blue. Once that completely dried, I covered that with a payne's grey wash, so that it got into the texture. The wash is just a watered down version, so that it wipes away easier. (1 part paint to 2 parts water. for the wash) I wanted the final to look a little bruised up like whales look, so I did not make the texture ultra smooth. Once the grey wash dried, I went over the whole thing with a white drybrush. Which I thought would be the last coat, but it looked crazy, so I went over it again with the blue and I got the color I wanted. To top that off, I bought the liquitex professional matte gel and it was perfect! The final product is below. I am very happy with it and now it's time to get it sold. I hope part of my process helps yours :) "Splashy" is available at the Strawbridge Art League or you can purchase here.
0 Comments
Leave a Reply. |
AuthorJessica Larned Archives
April 2018
Categories |


 RSS Feed