0 Comments
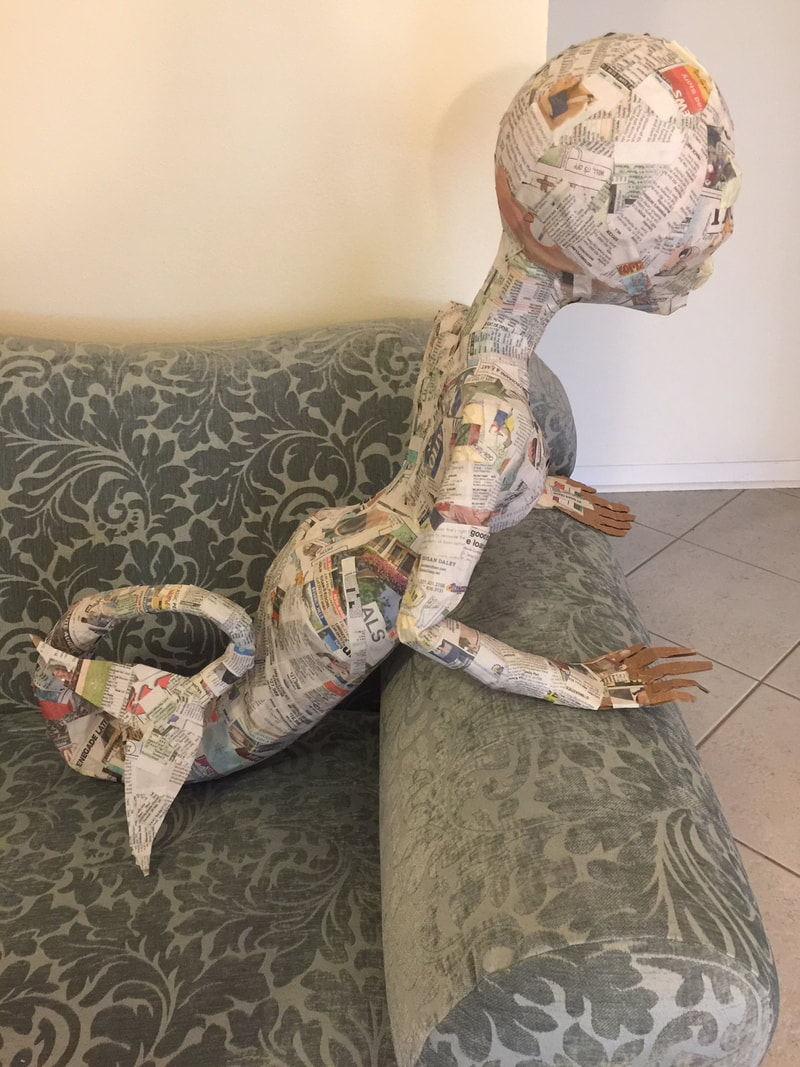
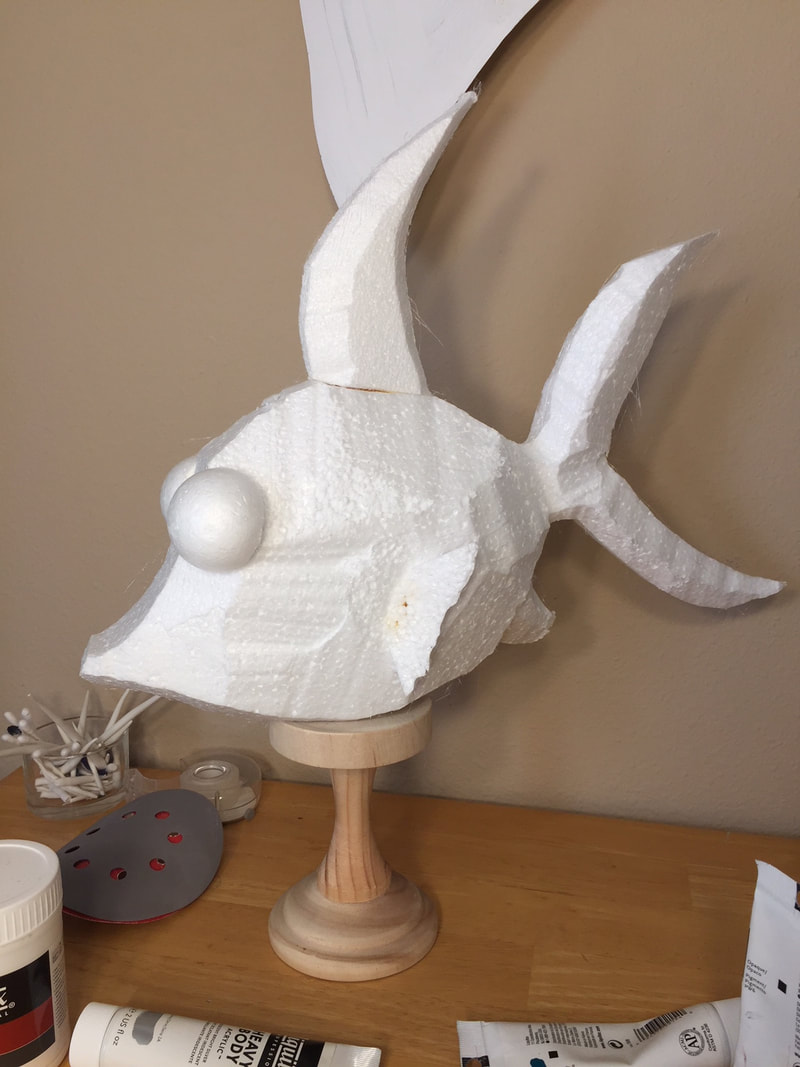
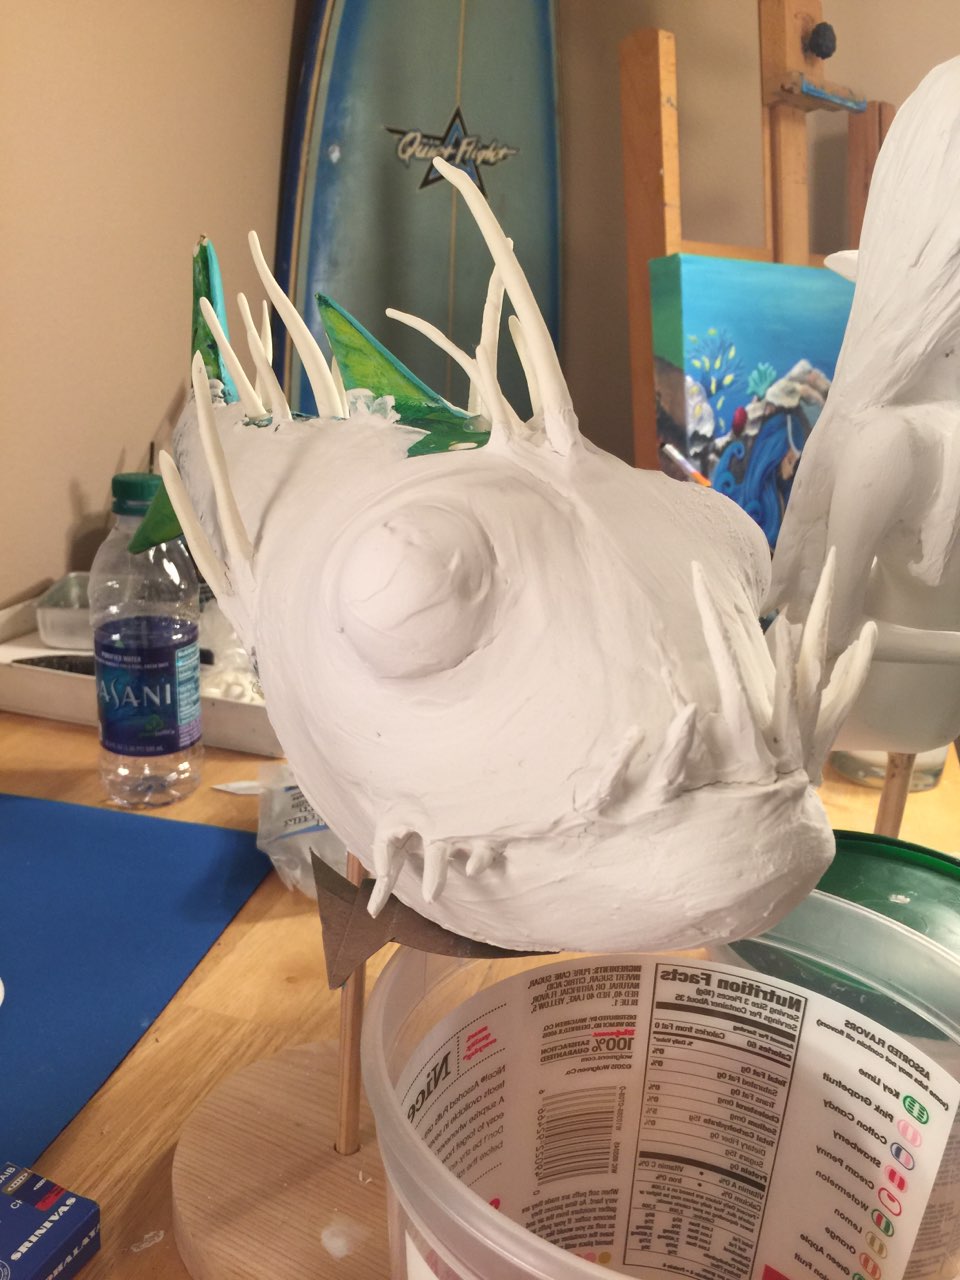
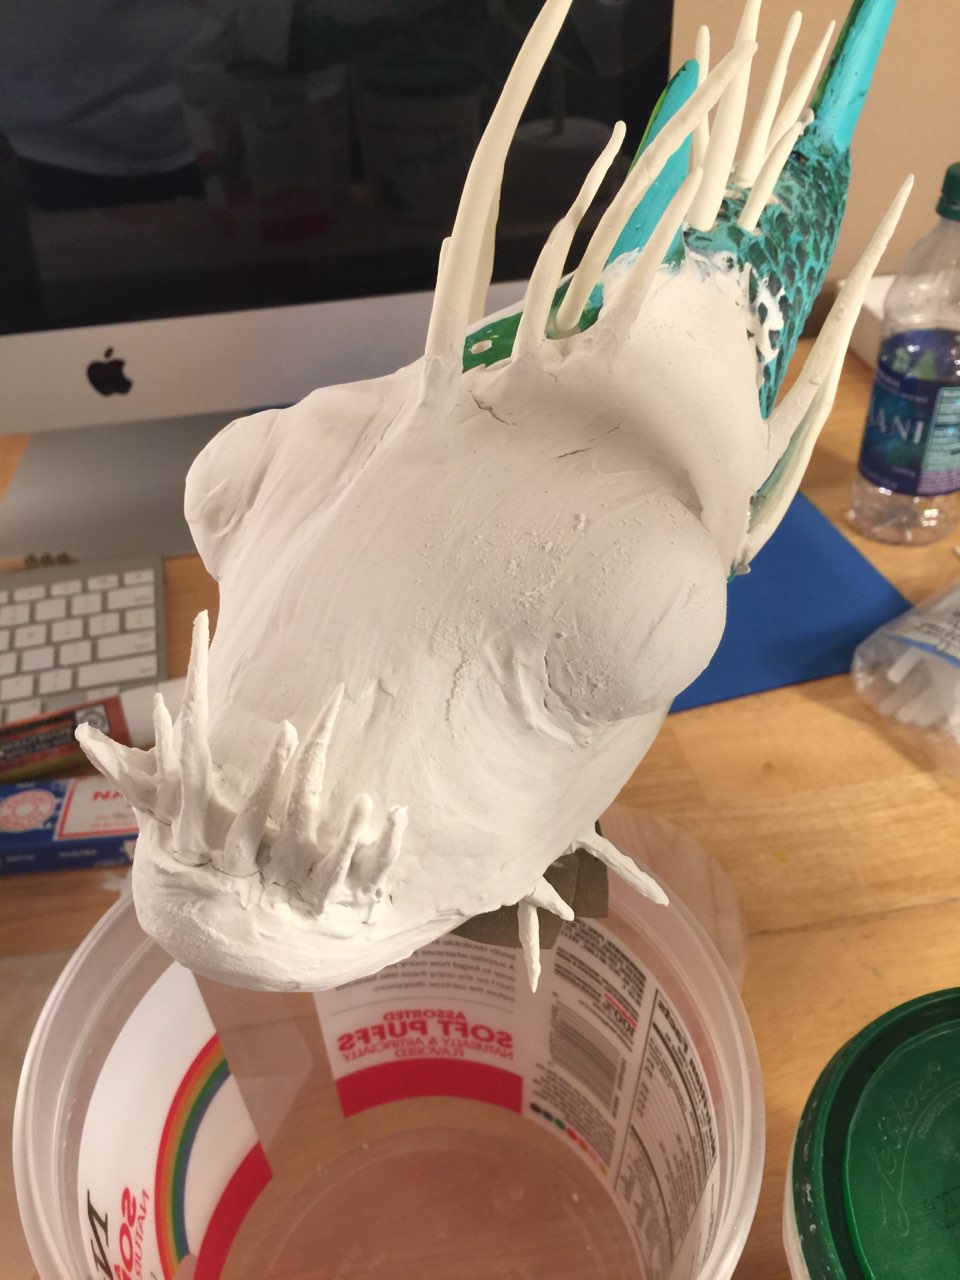
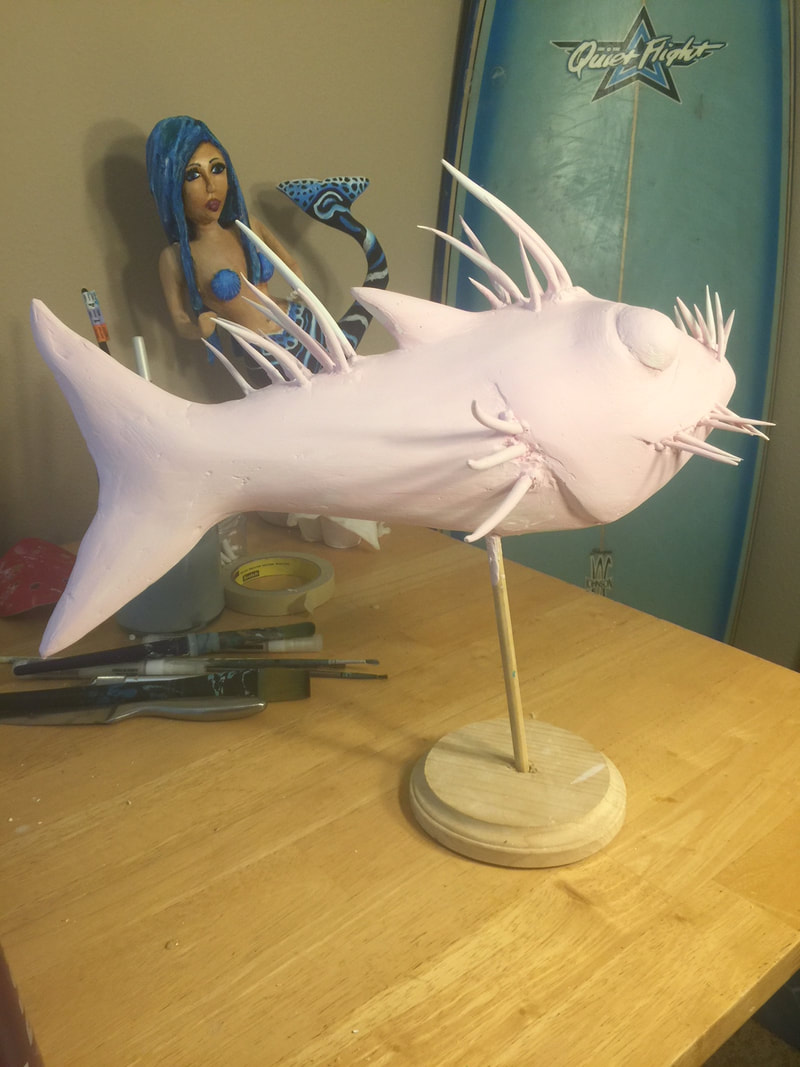
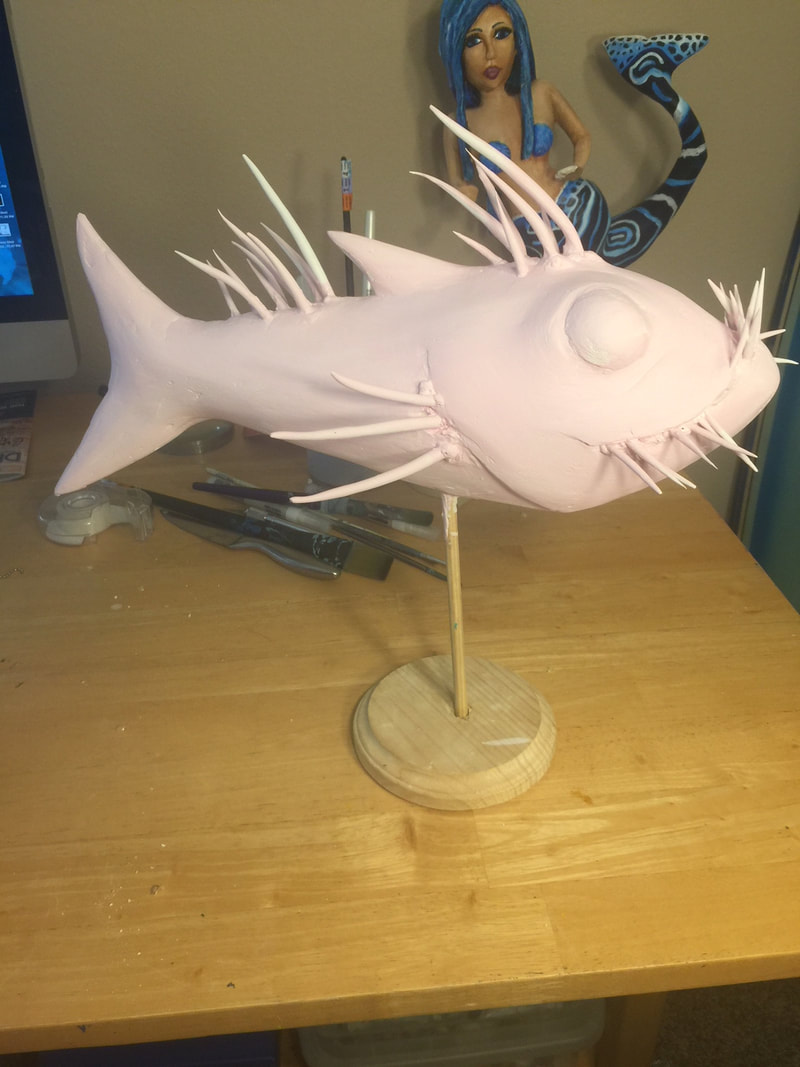
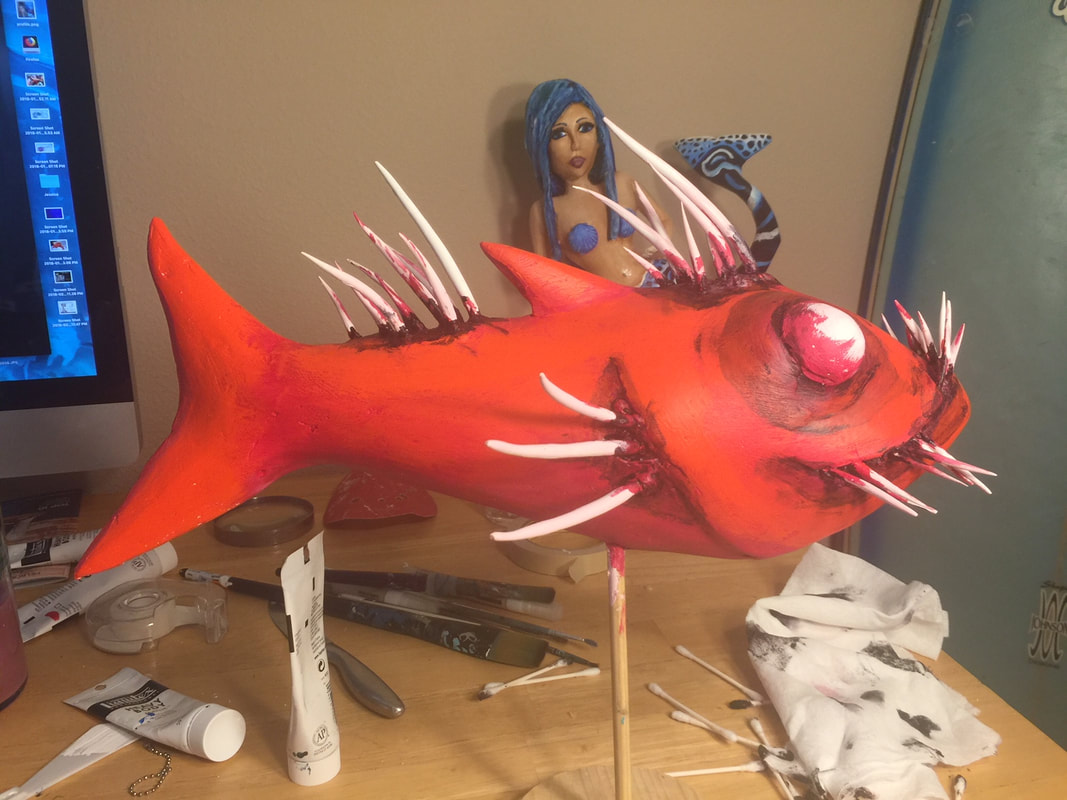
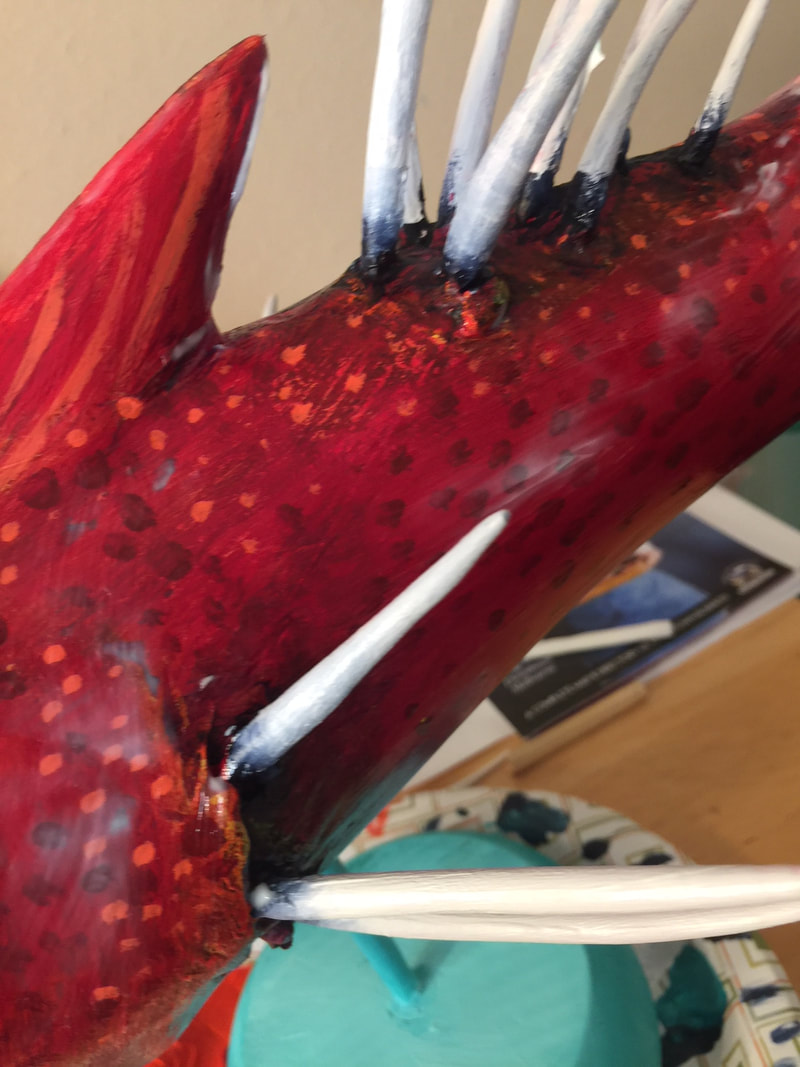
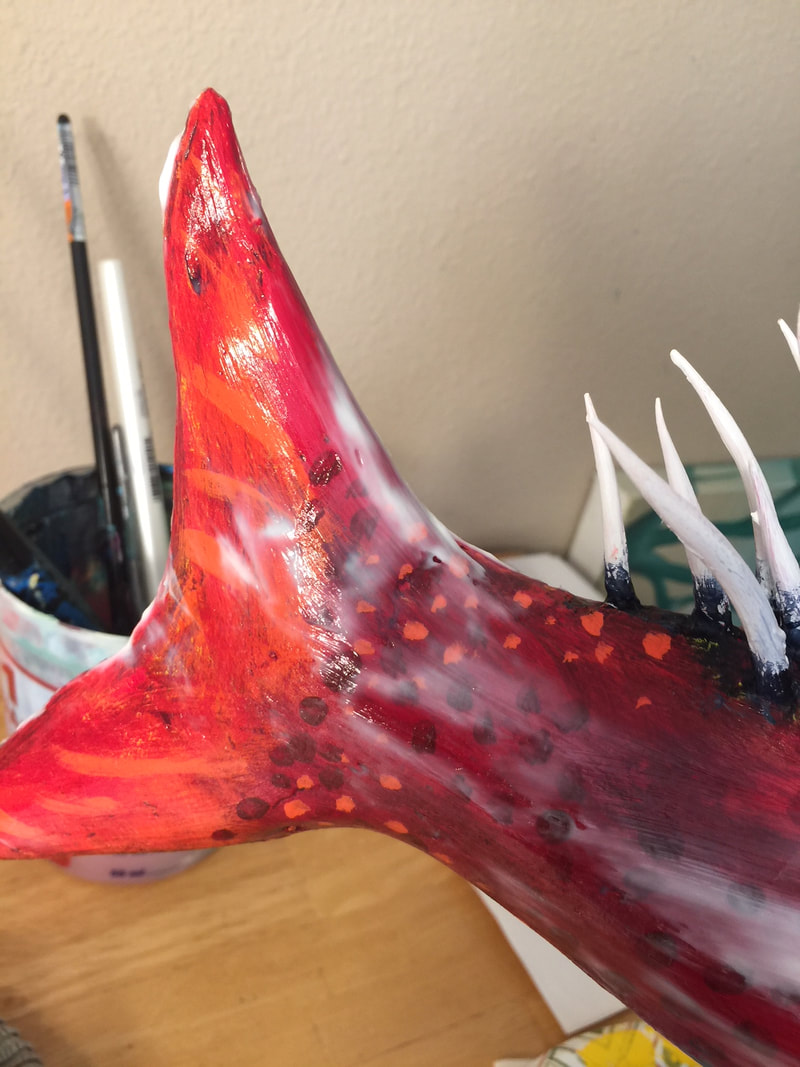
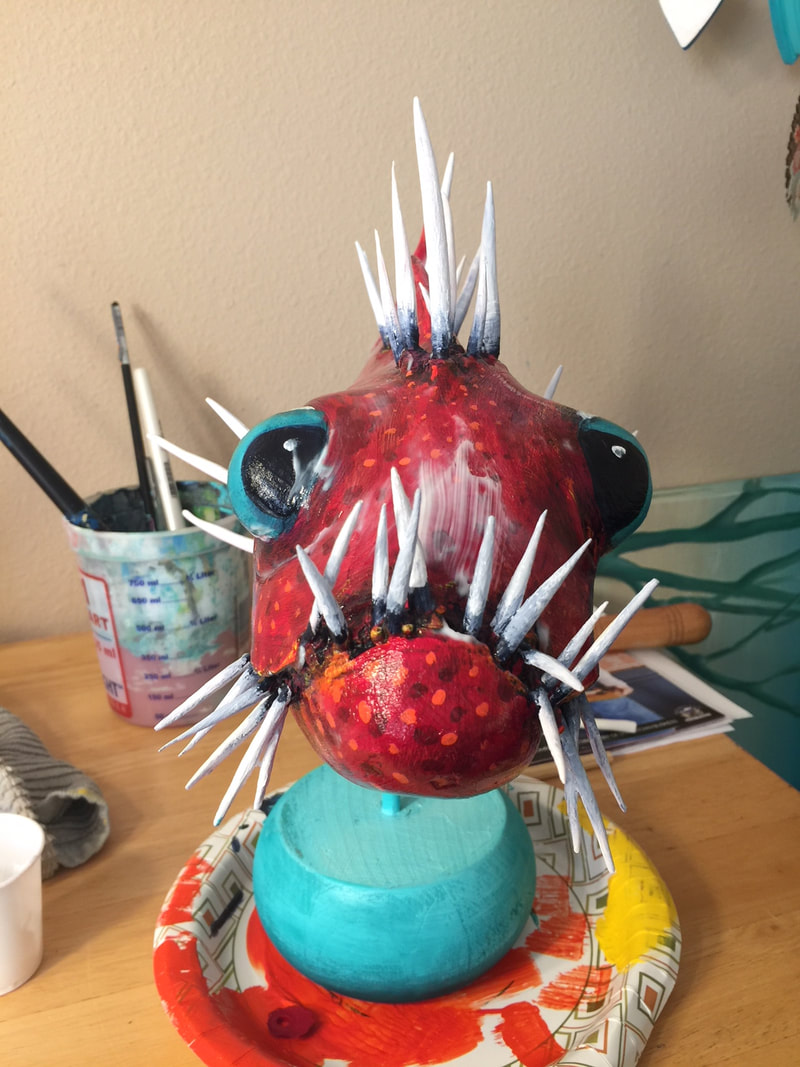
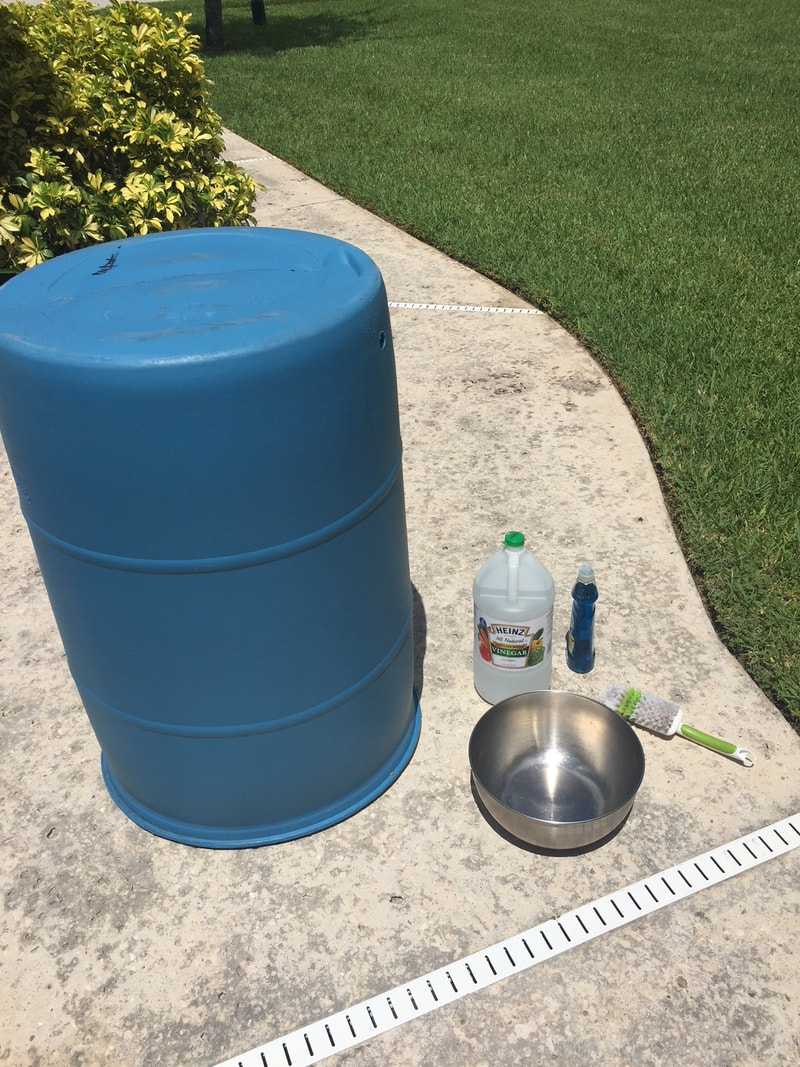
 Splashy started as many papier mache' project, with a balloon. I started with papier mache's about 2 or 3 years ago and just love the whole process. It can be super challenging and easy, depending on what part you're working on. I figured I would share with you my process, in case you are interested in trying it for yourself. Although there are no pictures of the original shape, it was a balloon that I extended with paper board and tape to create the whale shape. For the tail, I took 2 pieces of paper board and cut out the shape of the tail. I then taped the edges and stuffed the center to give it a little more of a 3 dimensional shape. Once I was finished with the shape, I made the papier mache' recipe and covered the entire thing twice. That gave me a nice firm shape that could take the weight of what was to come next. My recipe for Papier mache': Flour Modge Podge (or white glue) Newspaper (or other lightweight paper, like newsprint) Water Salt I have no measuring specs, except I put in at least equal parts water to glue. The rest depends on what I am using it for. I want it nice and thick for large areas, but it needs to be a bit more thin for the smaller parts. I usually go for a consistency of heavy cream. And don't forget to add the salt. Apparently it keeps your piece from molding.
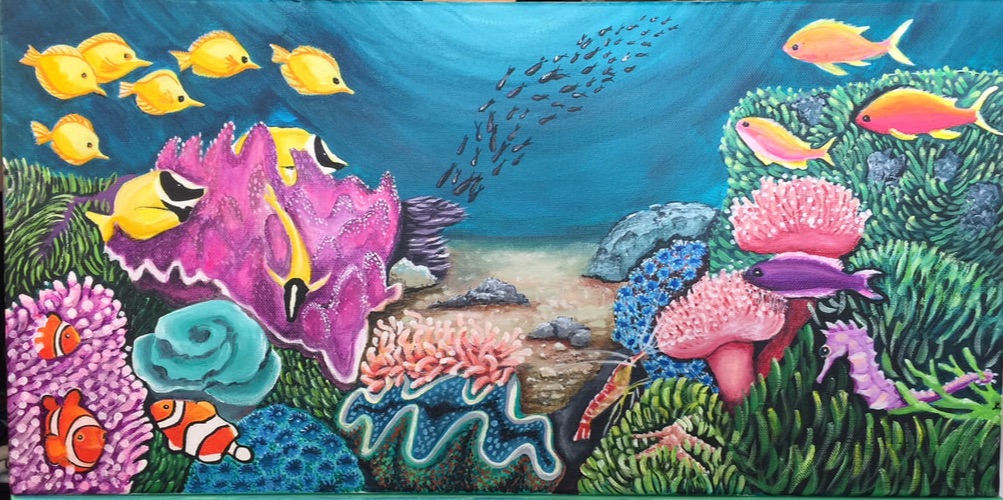
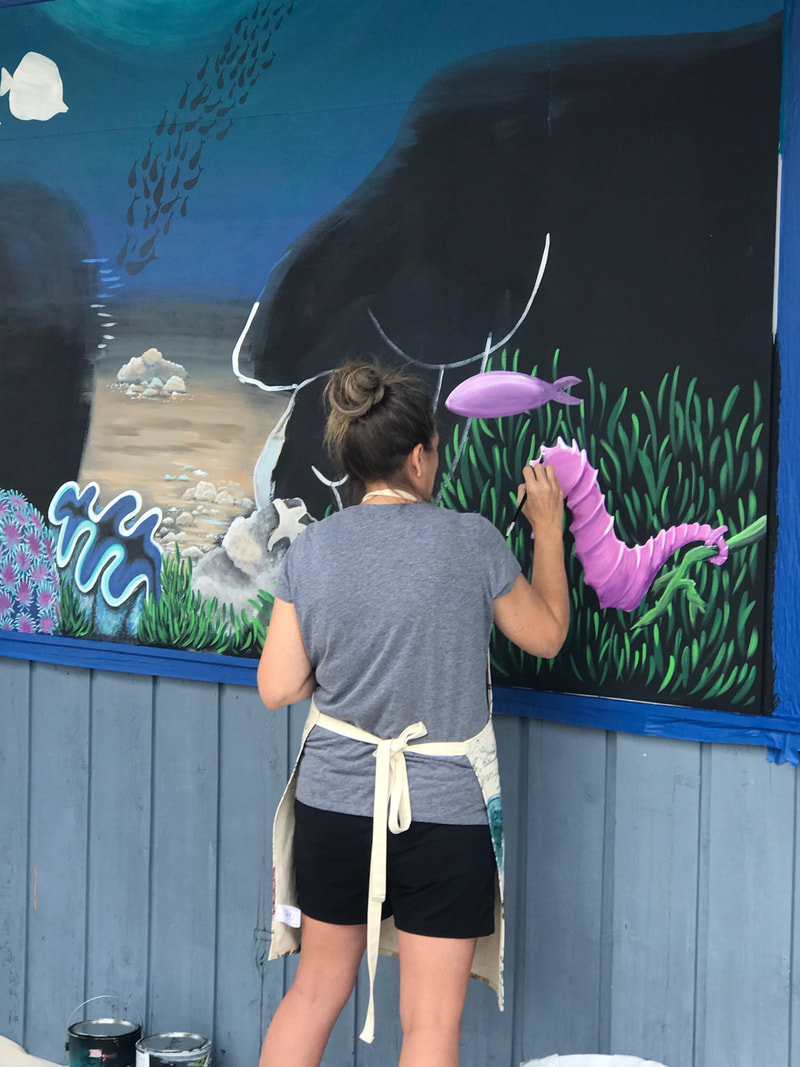
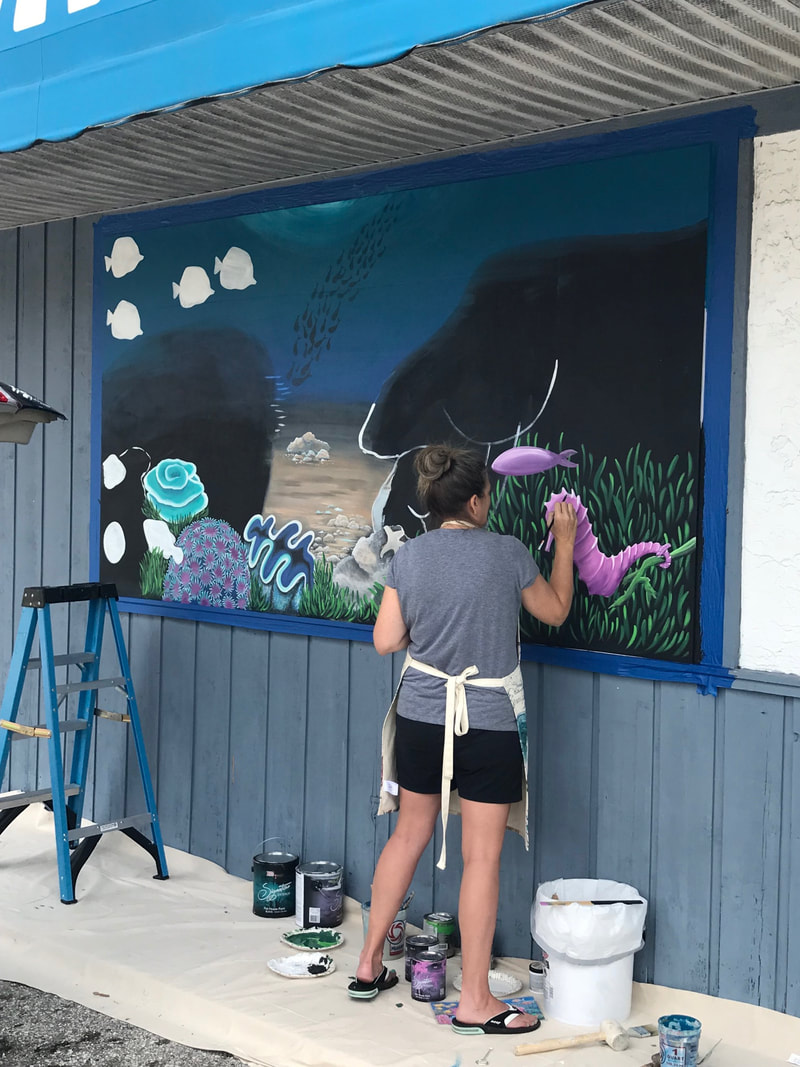
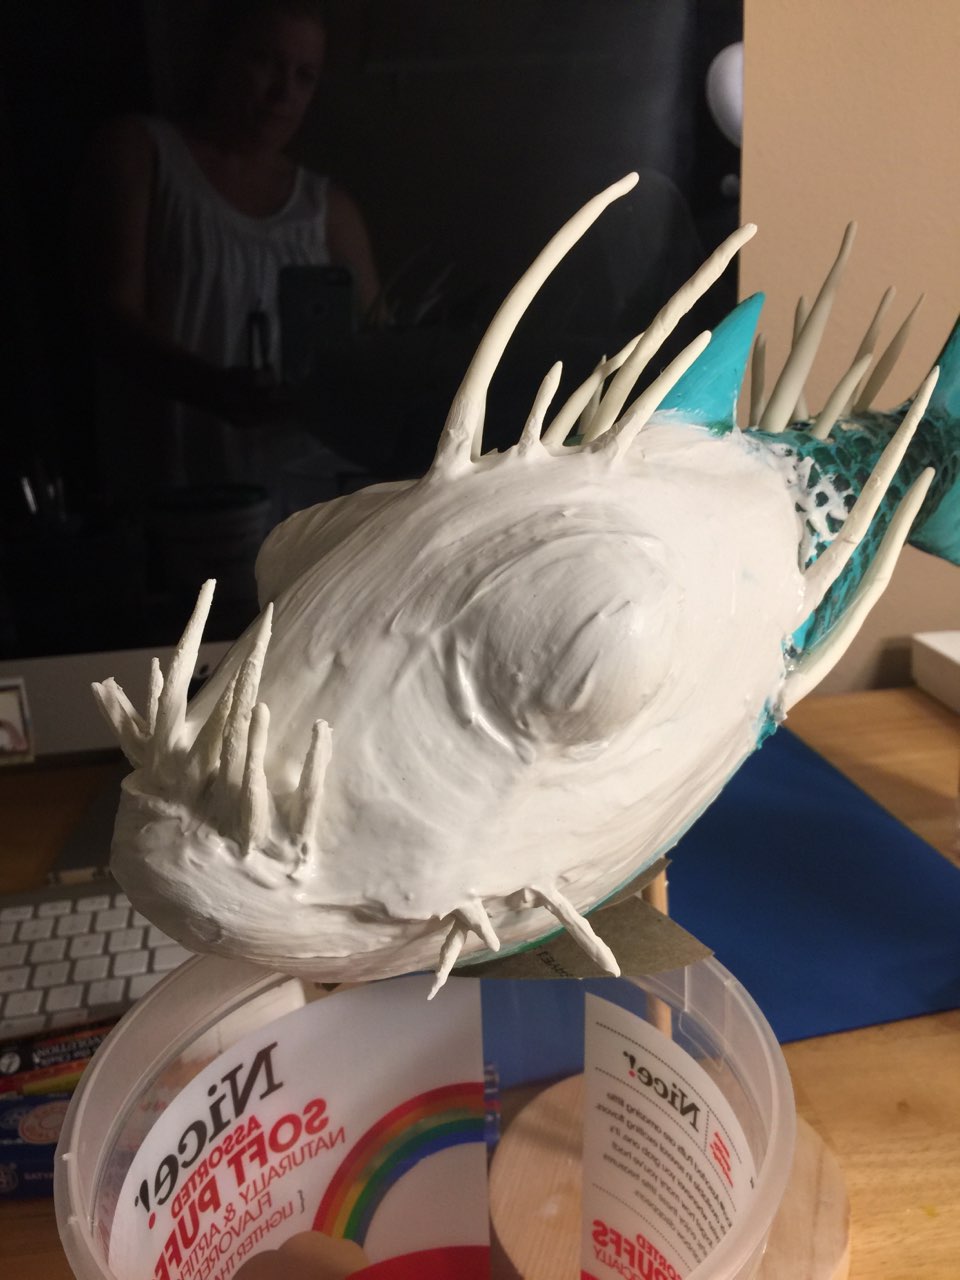
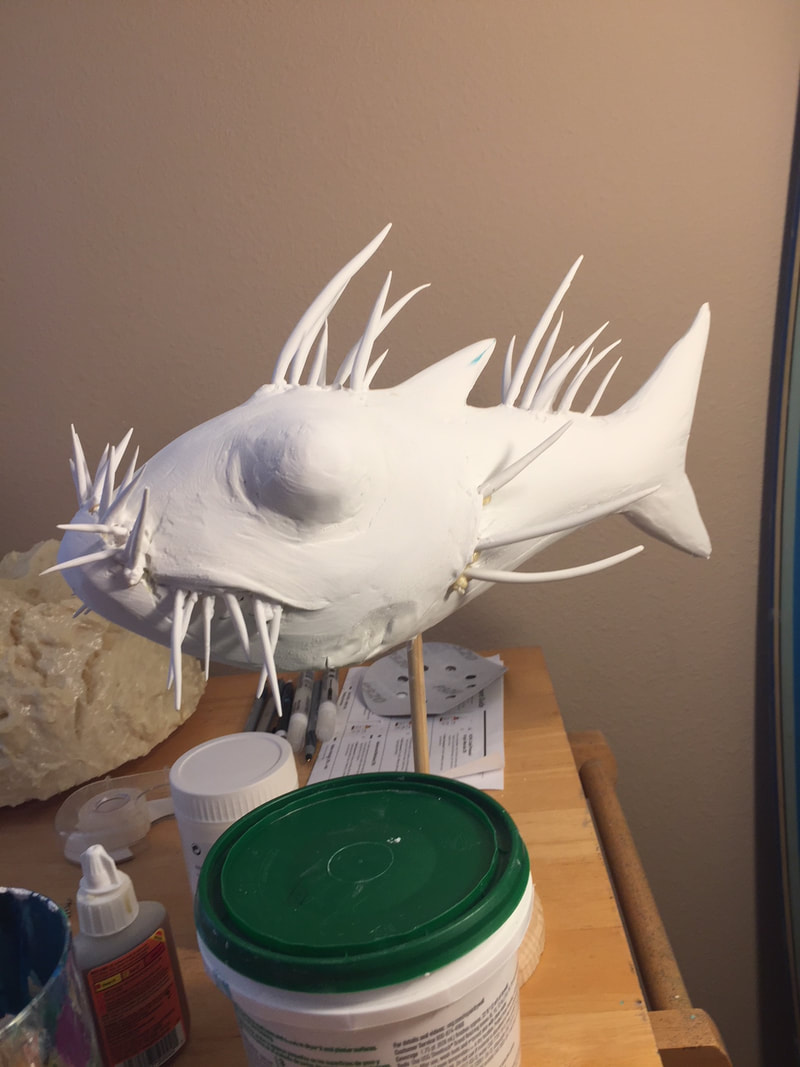
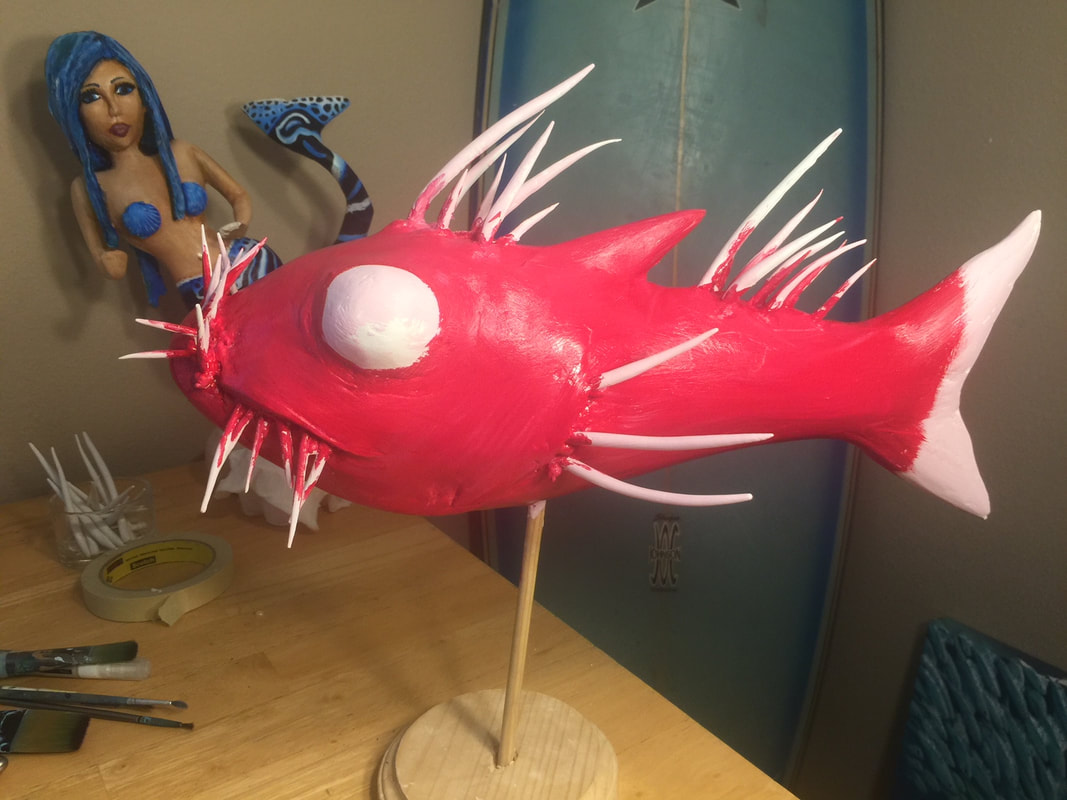
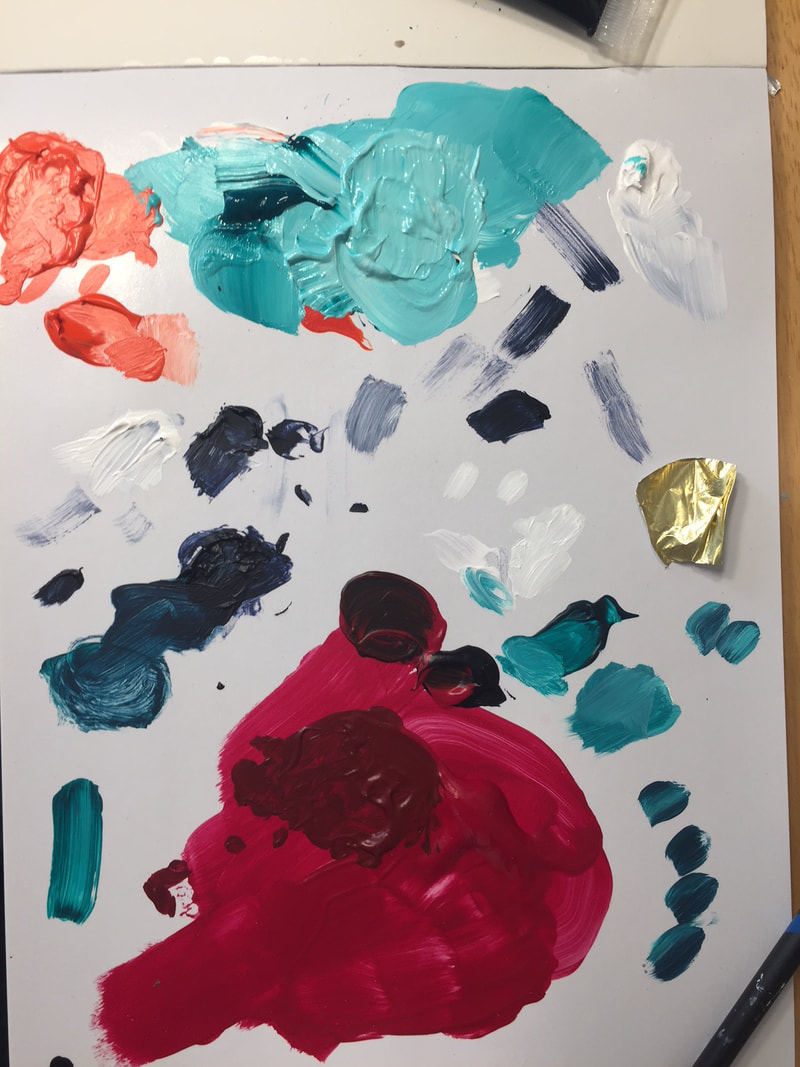
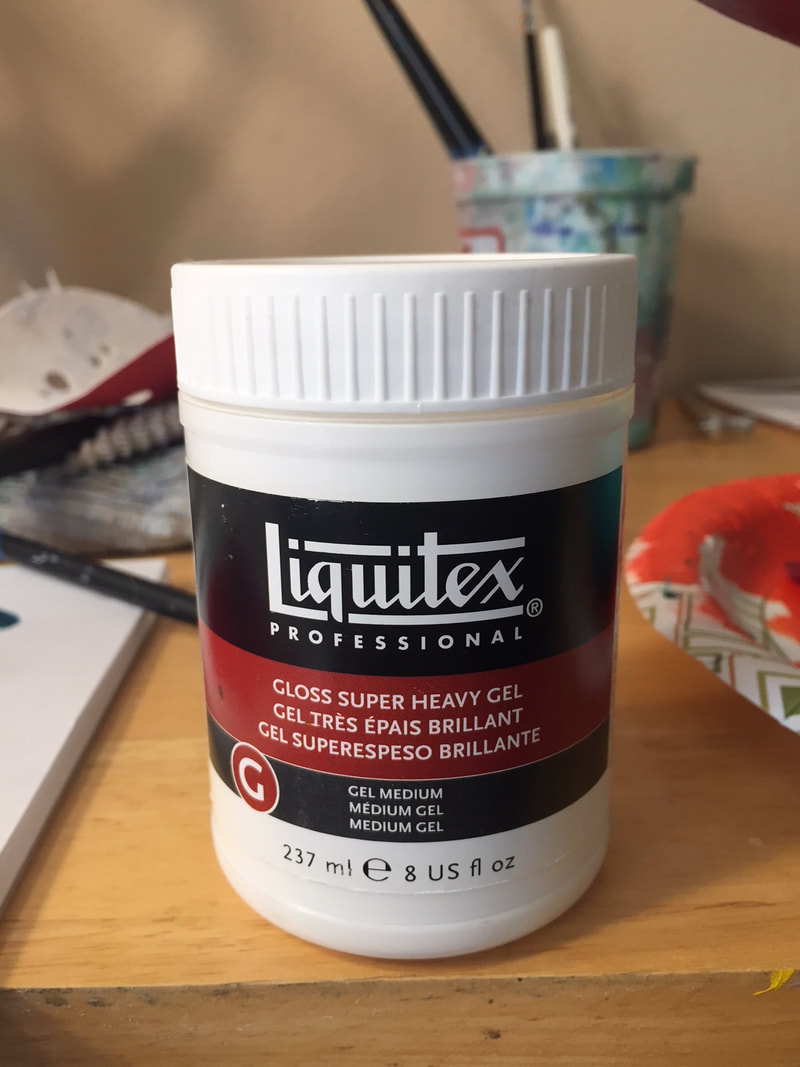
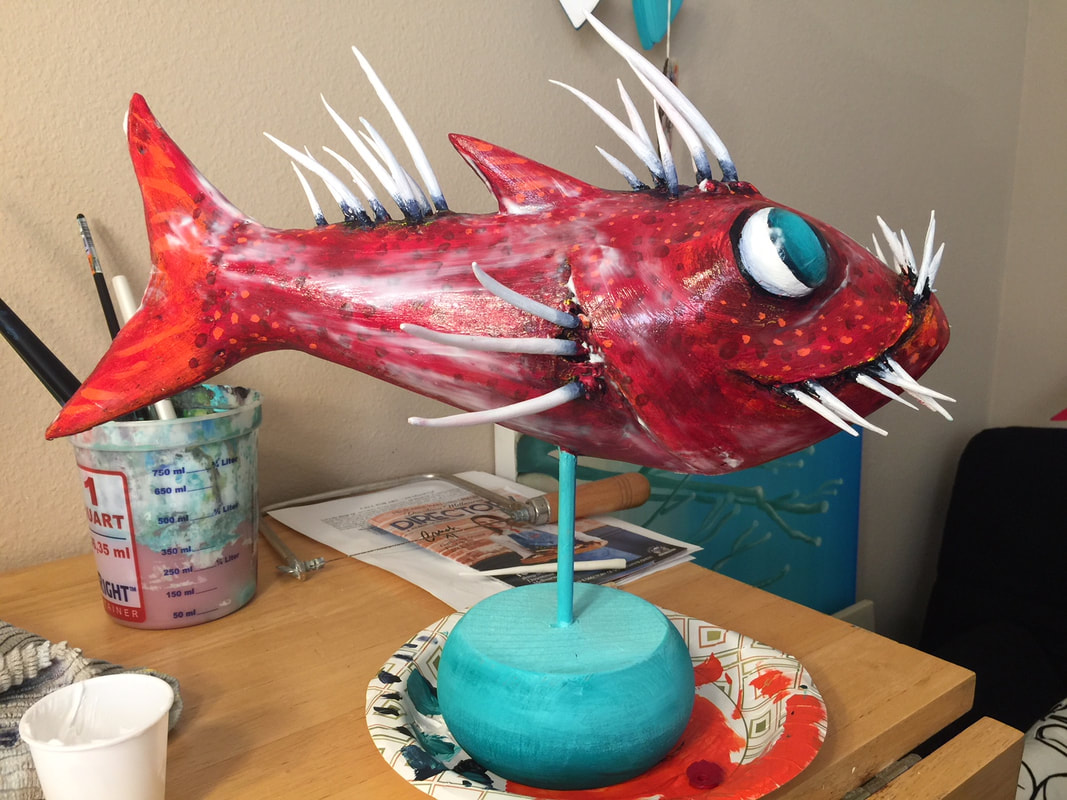
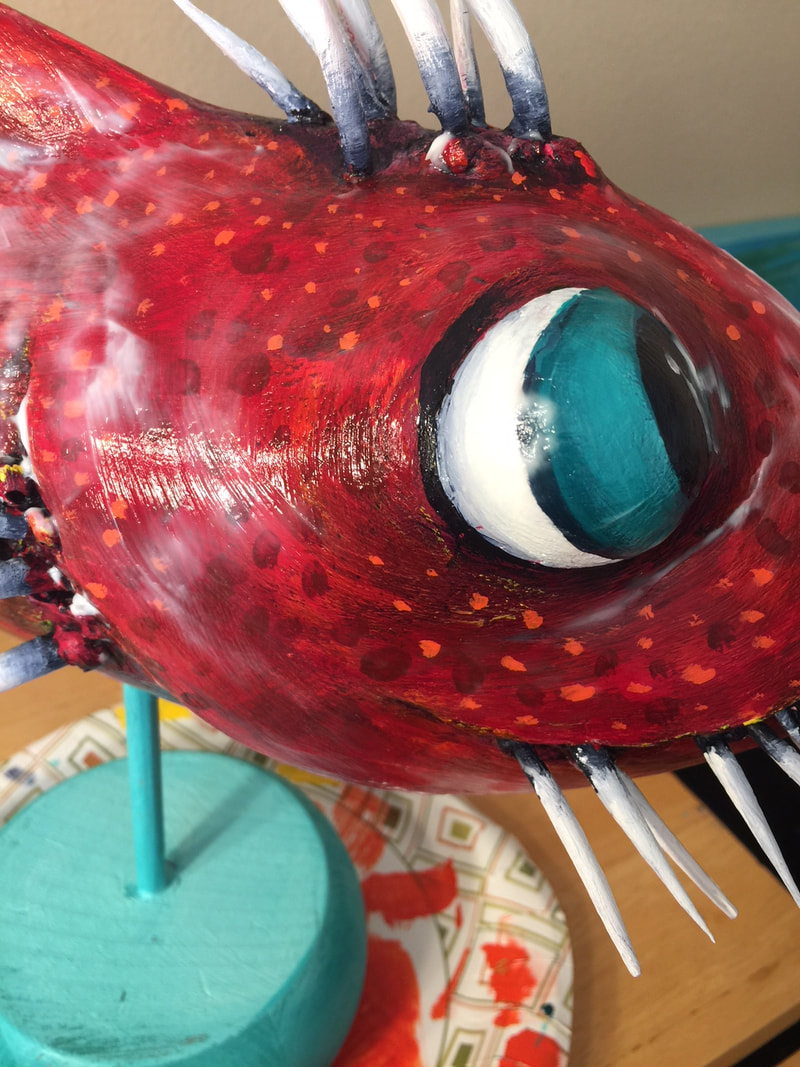
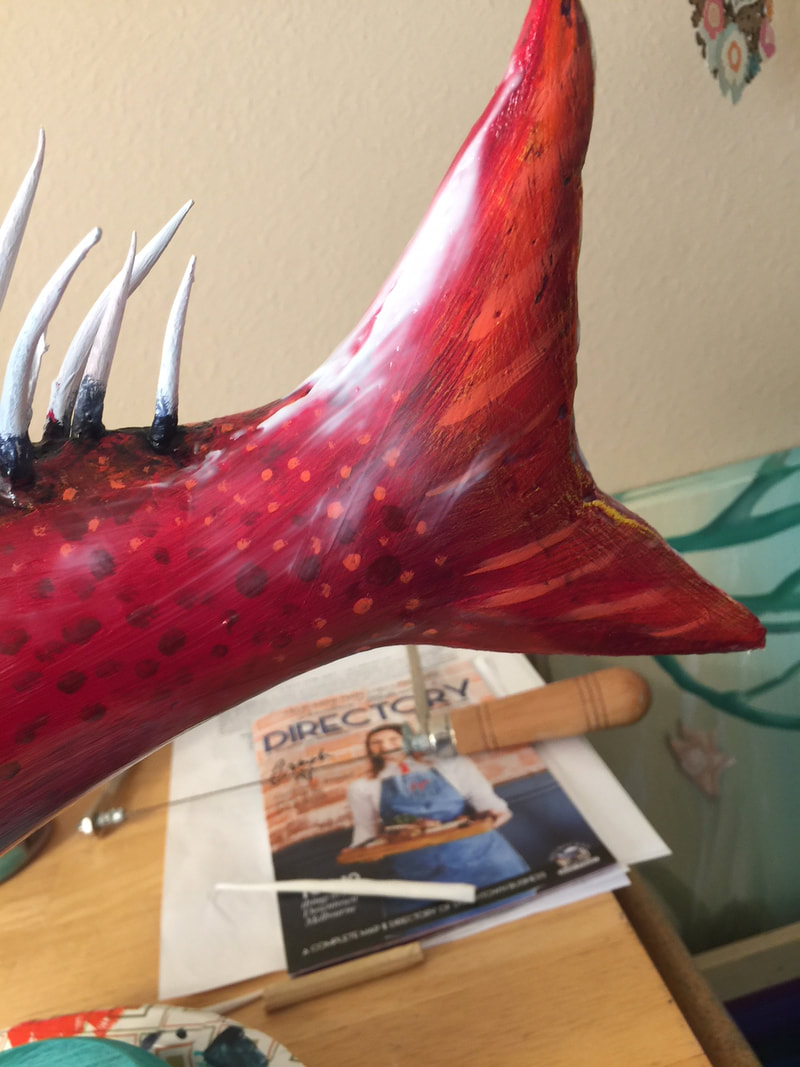
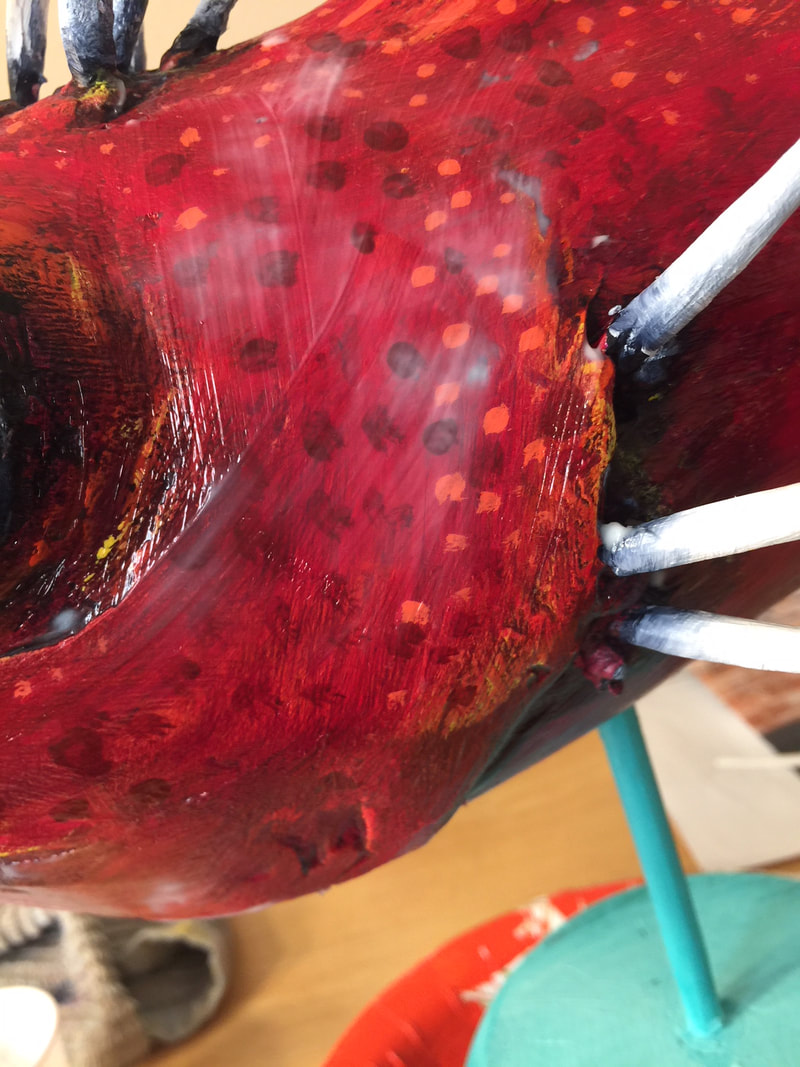
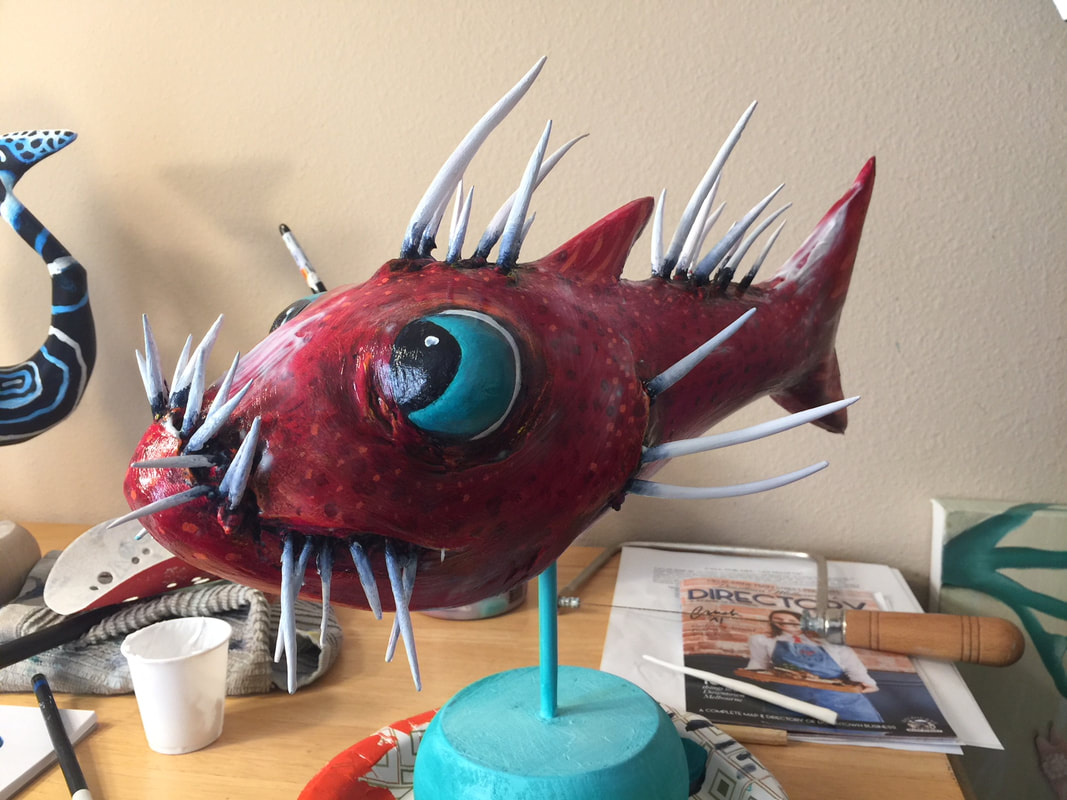
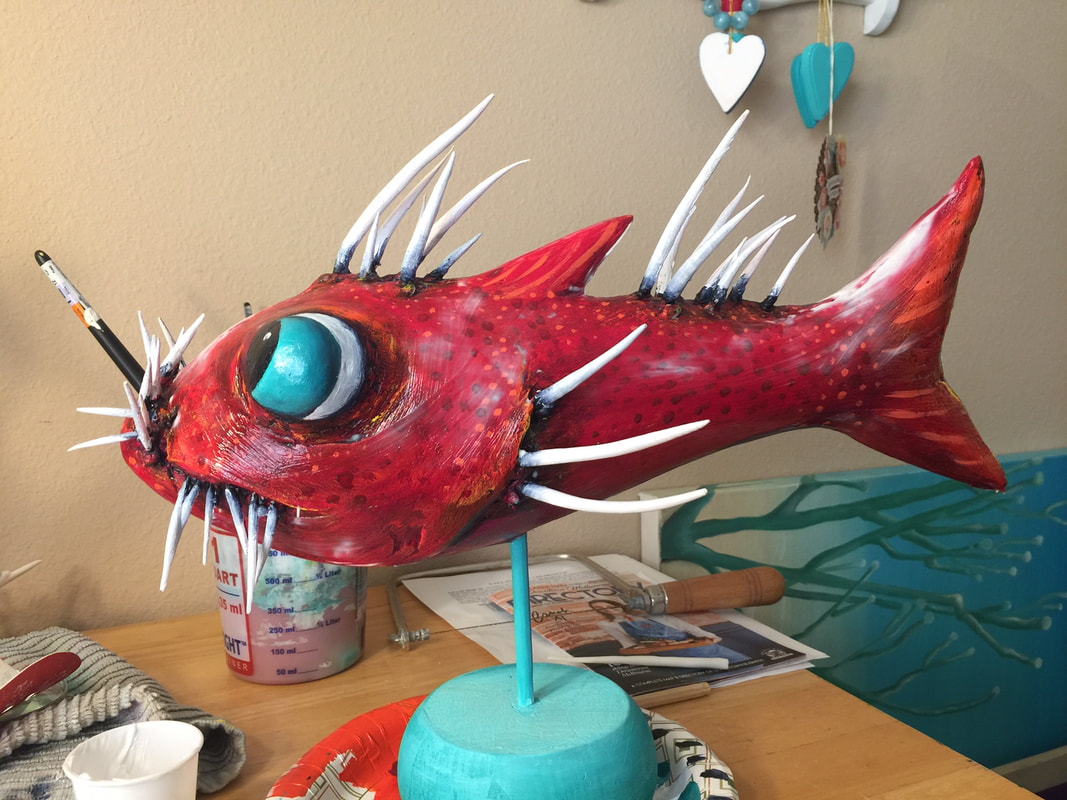
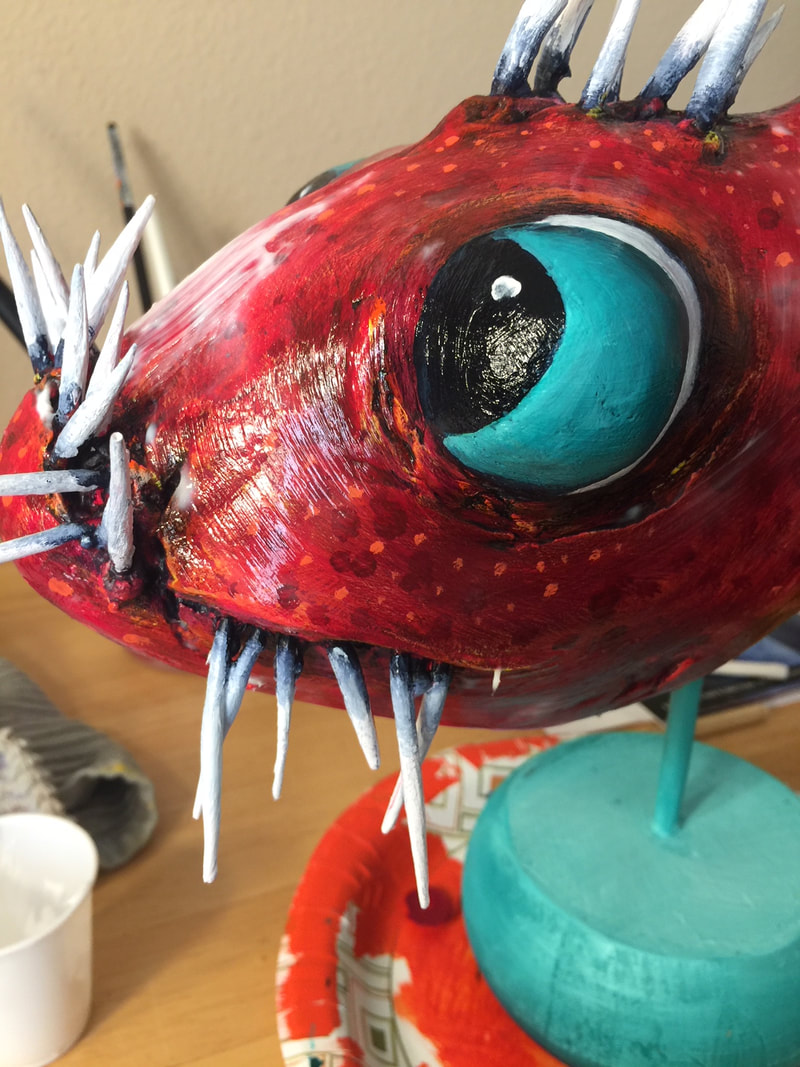
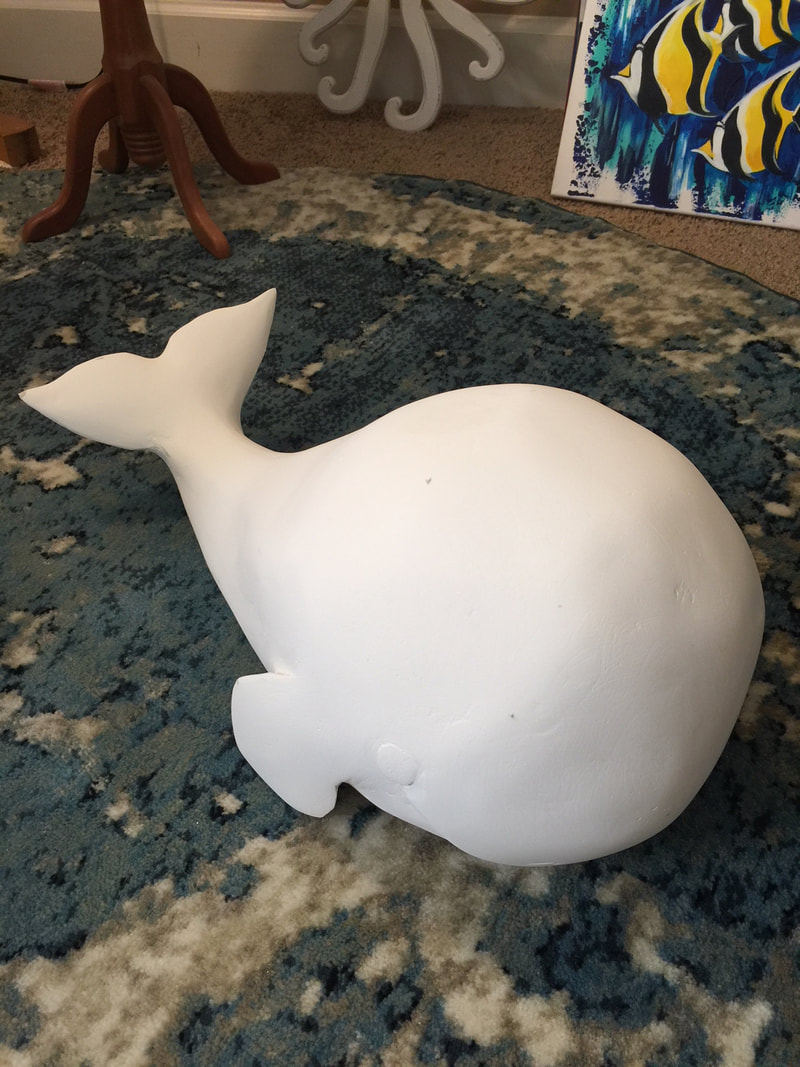
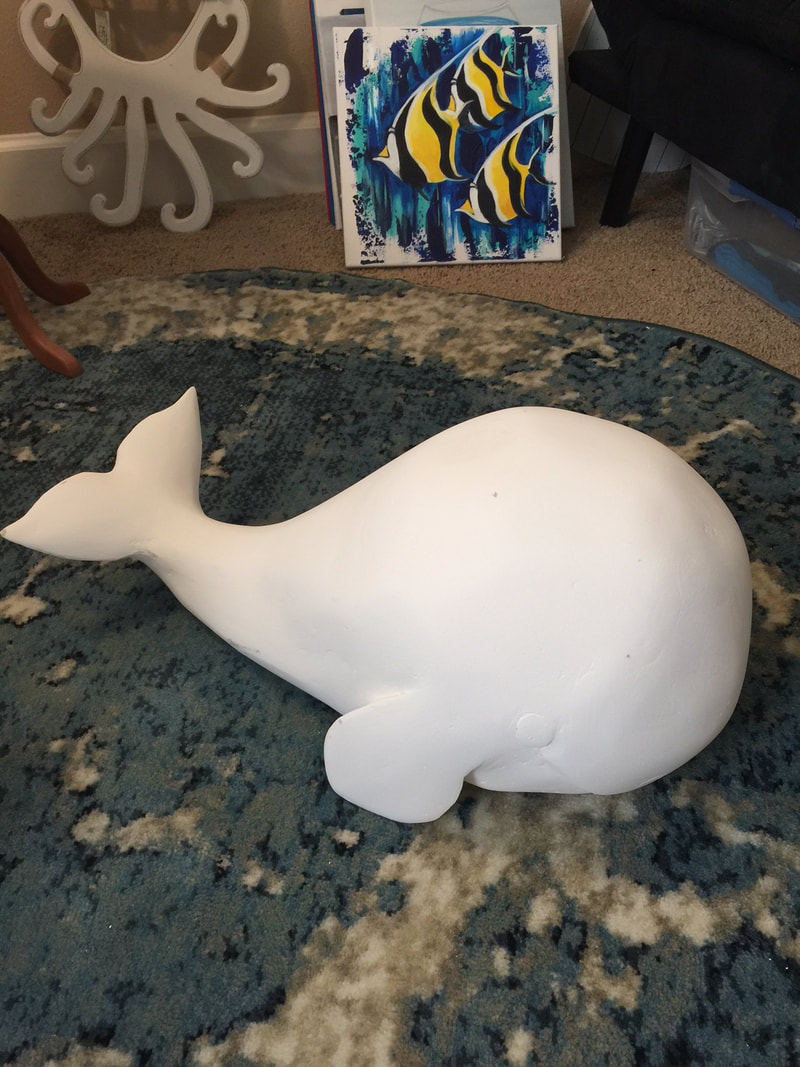
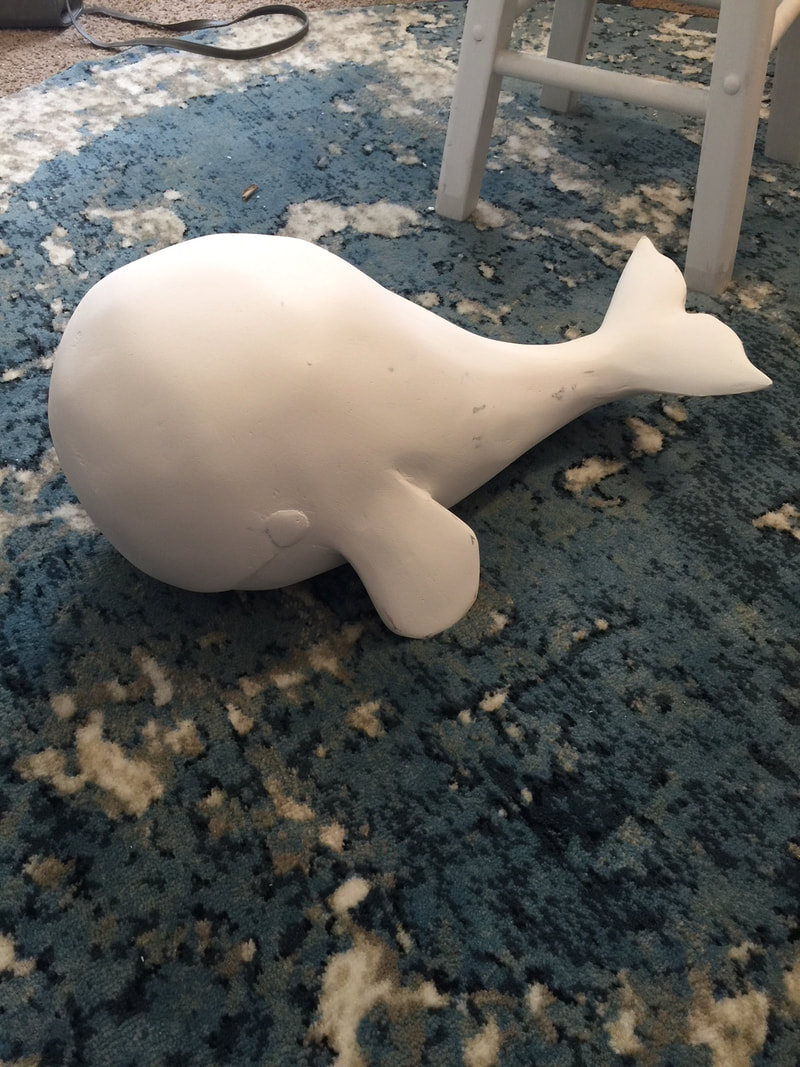
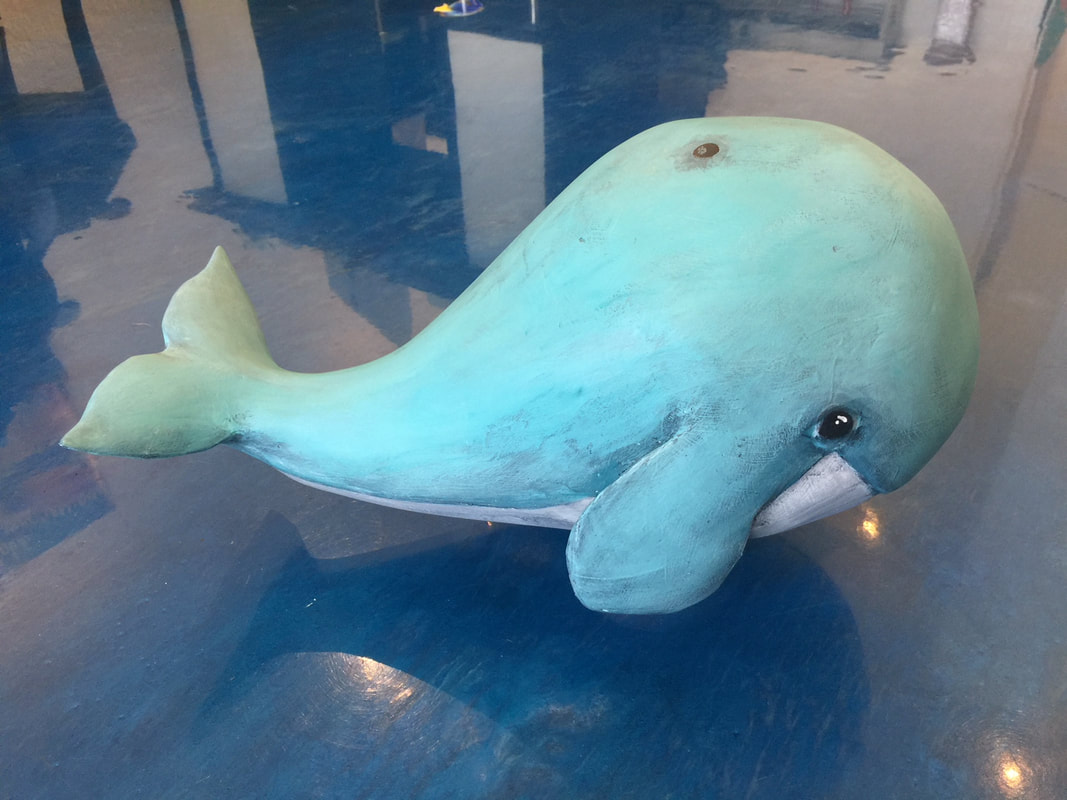
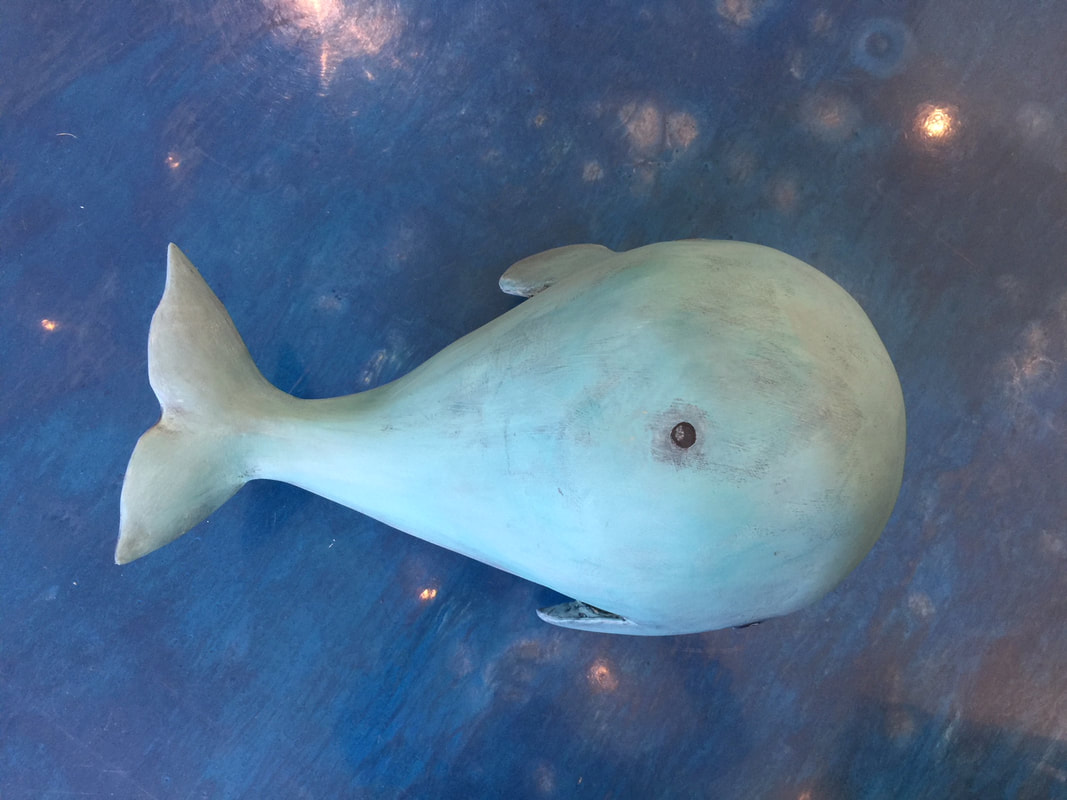
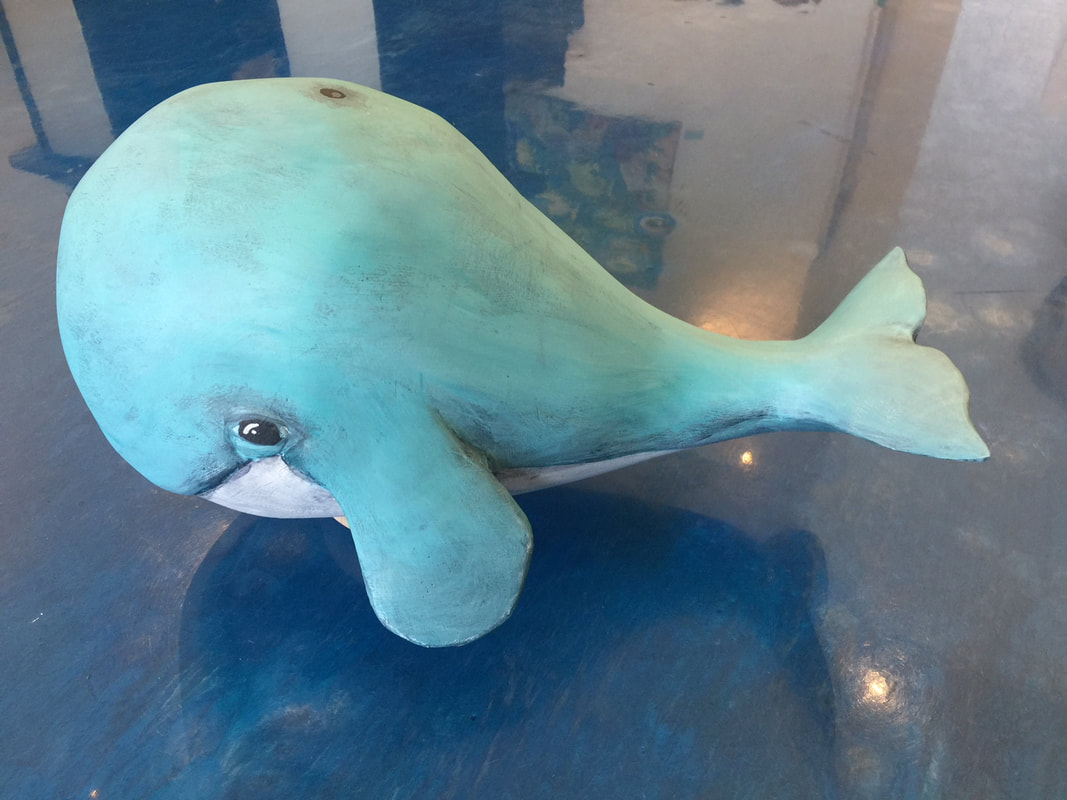
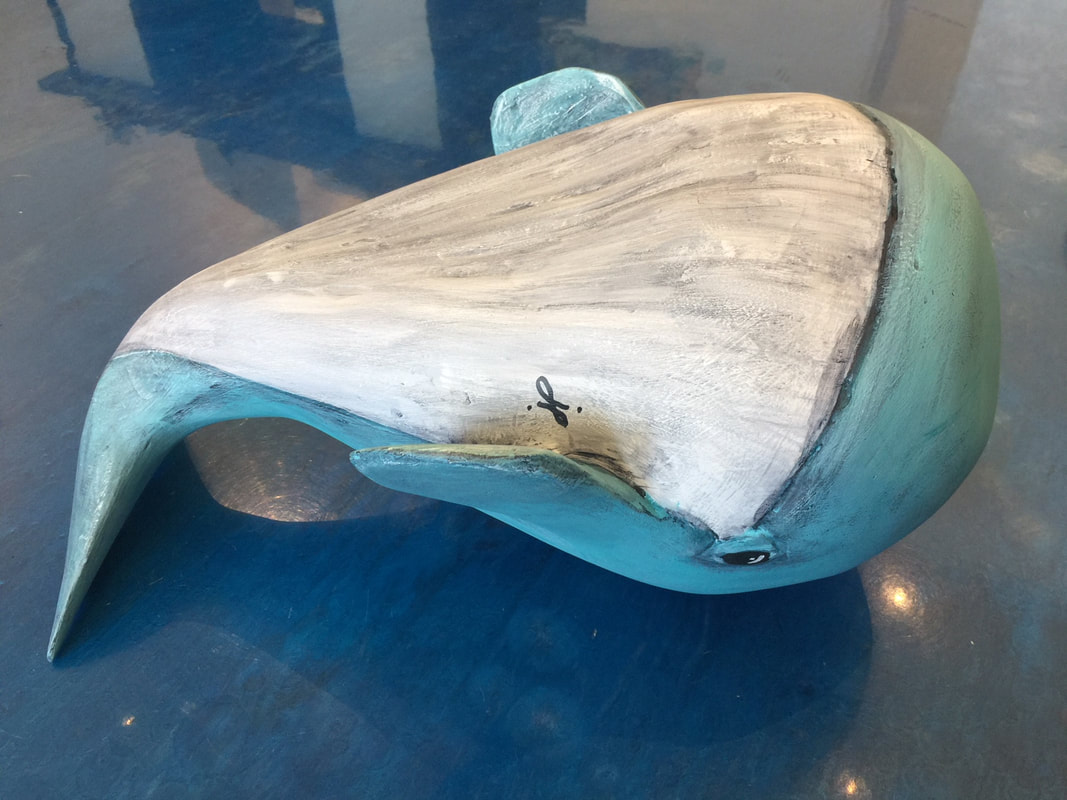
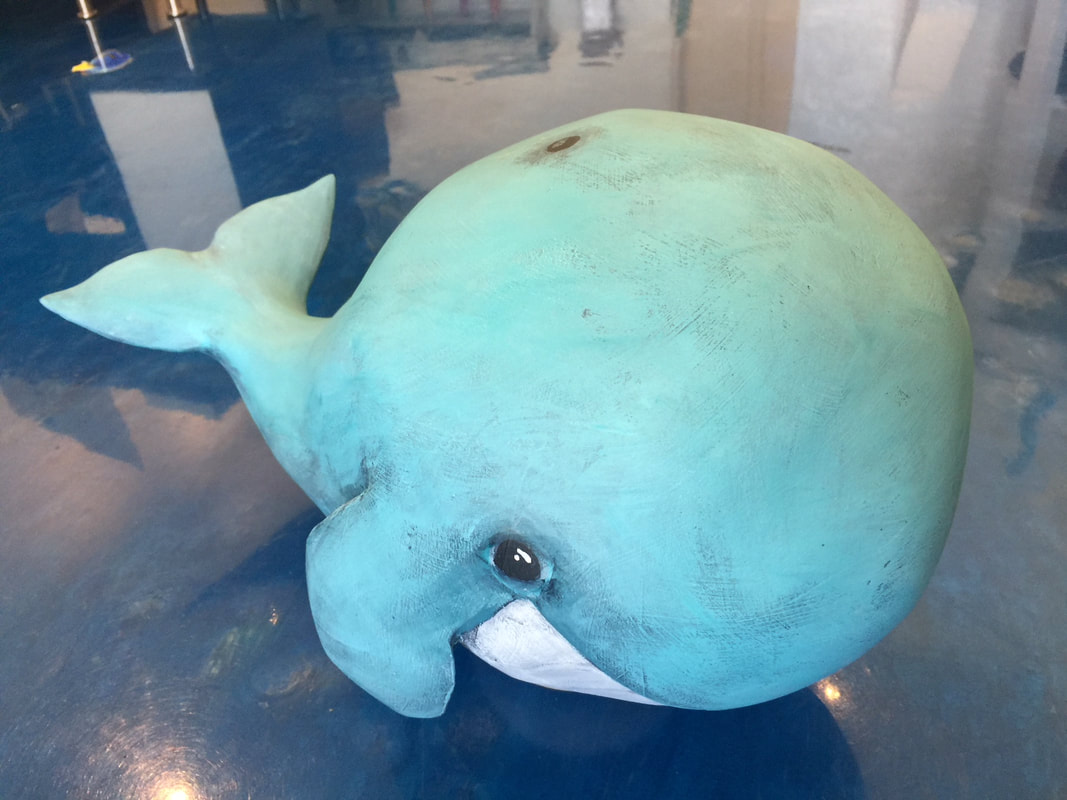
Once your texture is good, you can finish with paint. I start with gesso and give it a nice complete coat. Then I finish with colored acrylics and a final clear coat. For this project, I started with the white gesso, which gives it a nice solid undercoat. Then I painted the top with a nice mid blue. Once that completely dried, I covered that with a payne's grey wash, so that it got into the texture. The wash is just a watered down version, so that it wipes away easier. (1 part paint to 2 parts water. for the wash) I wanted the final to look a little bruised up like whales look, so I did not make the texture ultra smooth. Once the grey wash dried, I went over the whole thing with a white drybrush. Which I thought would be the last coat, but it looked crazy, so I went over it again with the blue and I got the color I wanted. To top that off, I bought the liquitex professional matte gel and it was perfect! The final product is below. I am very happy with it and now it's time to get it sold. I hope part of my process helps yours :) "Splashy" is available at the Strawbridge Art League or you can purchase here.  Jessica Larned studied Graphic Design at the Art Institute of Ft. Lauderdale and Santa Fe College. A Florida Keys native, Jessica’s passion for the ocean and its inhabitants started at an early age. Using the skills she has honed as a graphic designer, Jessica uses her love for nature to create vibrant art depicting ocean life and the complexities and beauties it presents. With a focus on conservation,
“I am fortunate to have grown up surrounded by one of the world’s most diverse ecosystems. Having spent my childhood on and under the water, I feel deeply connected to the ocean and the creatures that call it home. The ability to use art to communicate the vibrancy, textures, and perseverance of the ocean and its most incredible creatures is something I feel truly passionate about.” |
AuthorJessica Larned Archives
April 2018
Categories |


 RSS Feed